
CM Interior – Part 2
Now to work on the shelves for various panels and compartments above the girth shelf in the equipment bay half of the CM. In this area, the walls of the CM capsule itself are visible in a couple of places. While I could possibly cut just those pieces to the exact size, attaching them might be difficult. Instead, I decided just to span the area between the outer supports where these two pieces are visible. I took a 2’x4′ sheet of tempered hardboard (which is a little flexible), primed and painted the area that might be visible, and nailed it to the supports, starting flush with the seam between the CM halves and extending to the third support (the one at 45 degrees).
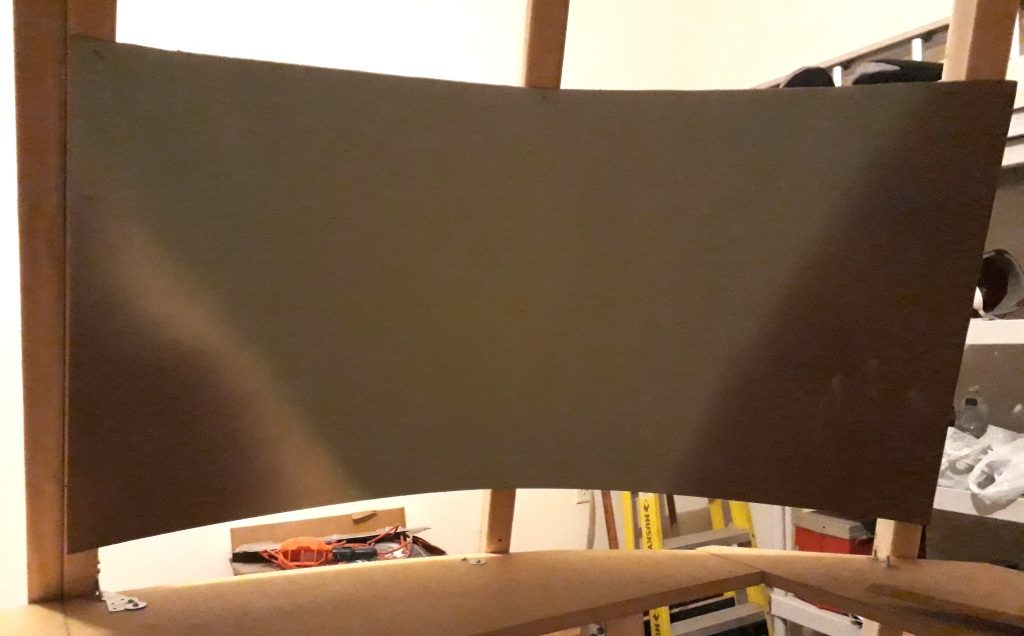
(Photo: The Apollo Education Experience Project)
I repeated for the other side. The right-hand side has a larger area visible, so I had to paint a larger portion of the hardboard. I confess – I had painted both panels properly, but installed the wrong one on the left side, so I had to paint an additional portion of the other one so that it would be appropriate for the right side.
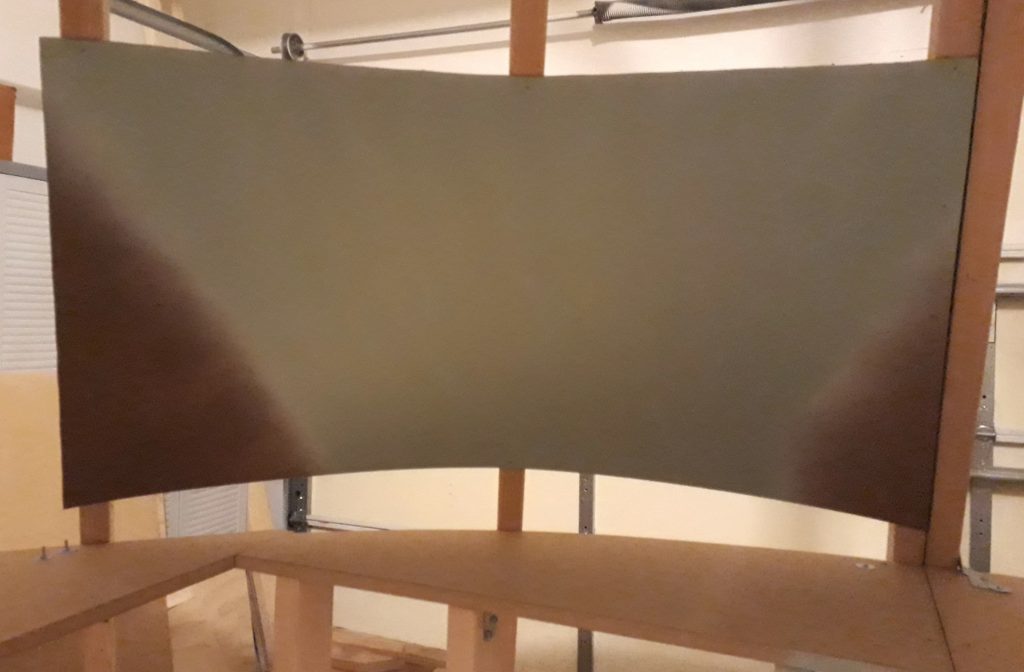
(Photo: The Apollo Education Experience Project)
With the walls in place, I started on the shelving. I started with the Left Hand Equipment Bay (LHEB) shelves by cutting the vertical end piece out of 1/2″ MDF and installing it where the shelves meet the seam between the halves. From there, I measured for the support and the shelf. Although I used paneling nails to connect the pieces, I also used angle brackets for support and #6 screws to attach them. The large opening beneath the shelf is for a single storage area, so I could not add a support in the middle. I did, however, use a couple more paneling nails from the outside of the painted wall into the shelf to help with support.
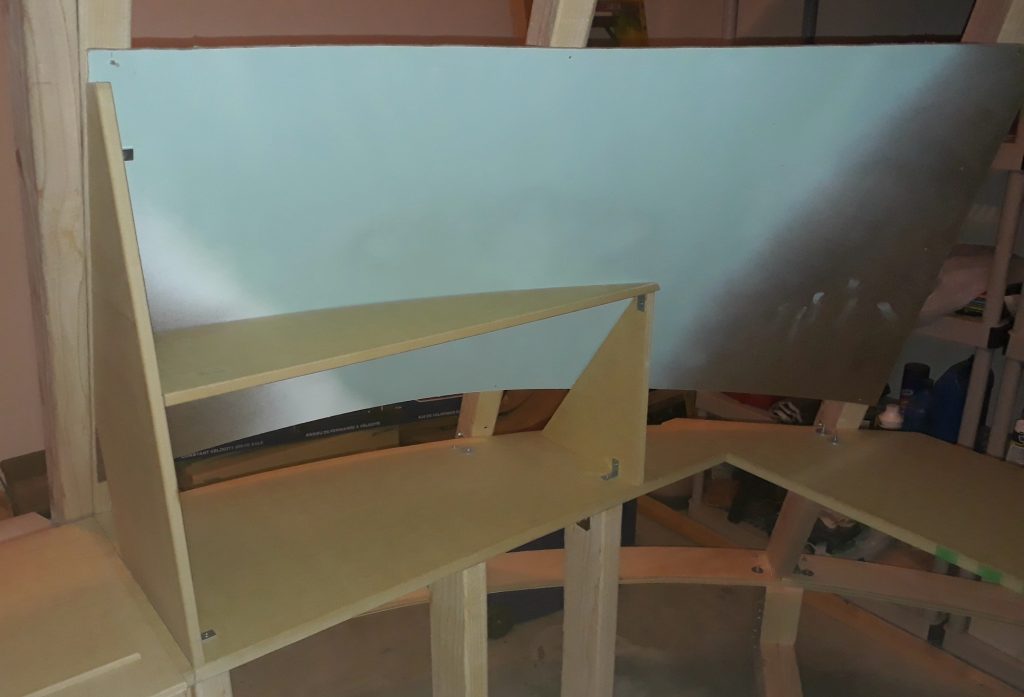
(Photo: The Apollo Education Experience Project)
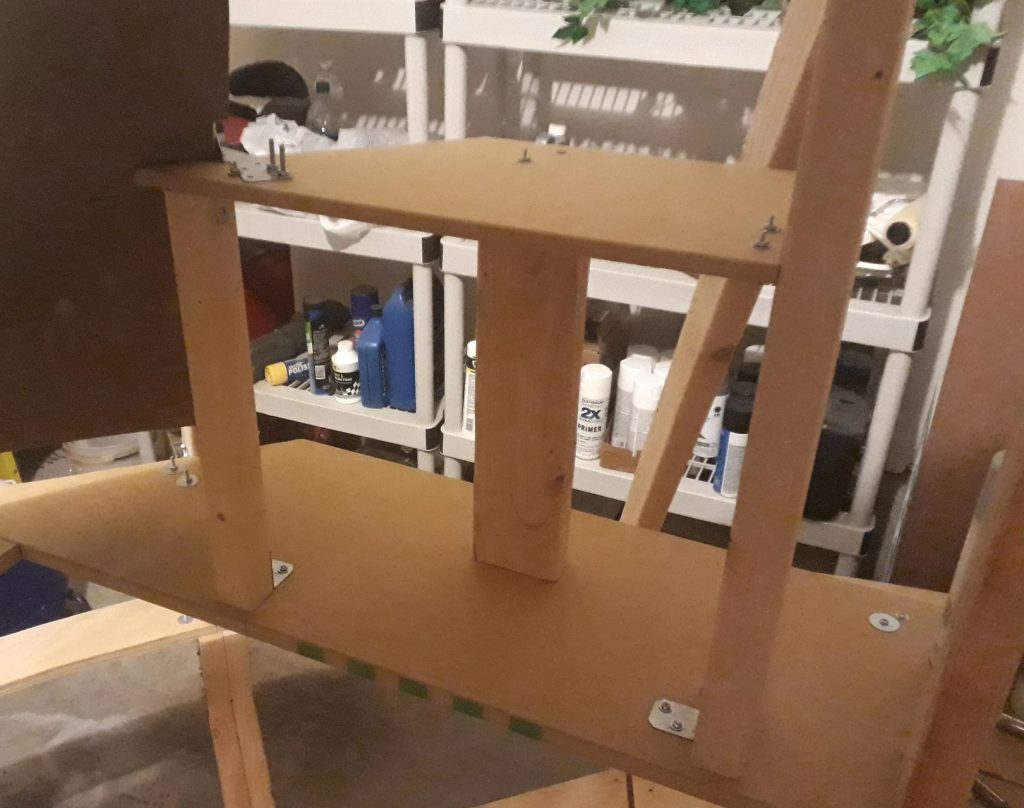
I started the shelves for the Right Hand Equipment Bay (RHEB) in a similar fashion. Unlike the LHEB, this side had some additional pieces to provide support in the middle.
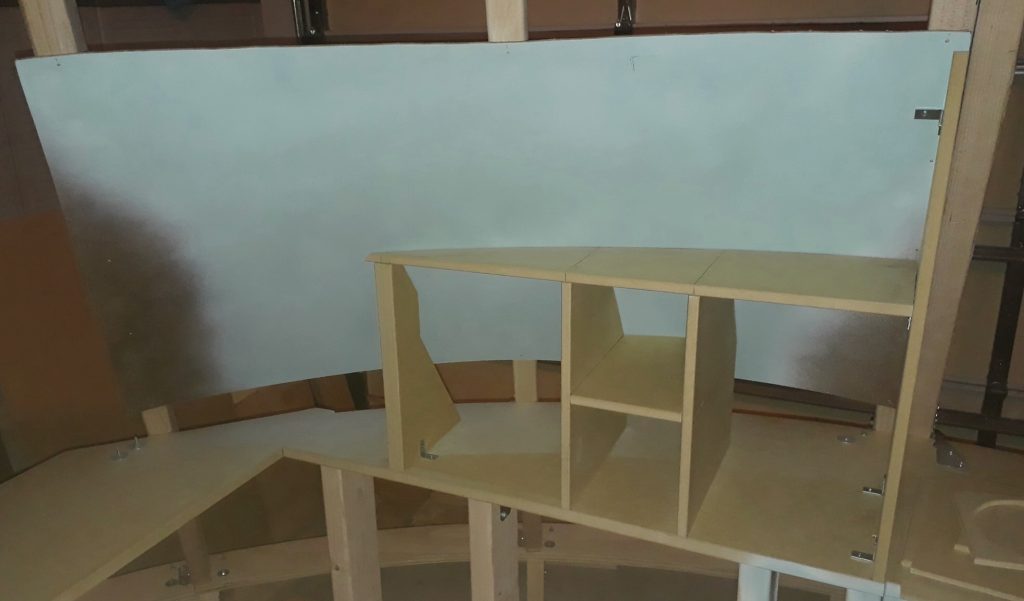
(Photo: The Apollo Education Experience Project)
I also had one shelf to install for the Lower Equipment Bay itself. I didn’t cut it so deep to reach the outer support, so I added a support of its own made from some scrap 2″x4″ board.
(Photo: The Apollo Education Experience Project)


