
Navigation Station – Part 5
Next up for the navigation station: the optics control panel. This is probably one of the things I least looked forward to building because of its complexity. Not only are all the switches individually recessed in deep pockets, but each pocket is individually lit. Plus, there are the two recessed control areas for manipulating the sextant and fine-positioning the CM. There is just a lot of stuff here.
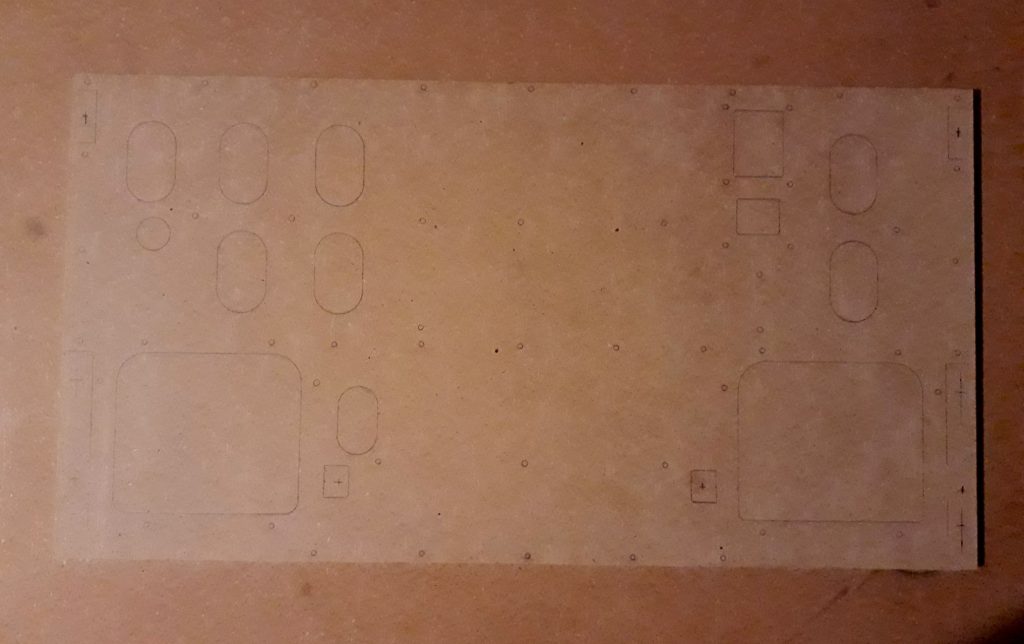
I started by taping the acrylics for the panel to the 1/4″ MDF I had cut out for the panel, then tracing all of the openings onto it with pencil. When I removed the acrylics, I had a cutting and drilling template. Holes for the six mounting screws weren’t included on the acrylics, so I measured and marked them separately.
(Photo: The Apollo Education Experience Project)
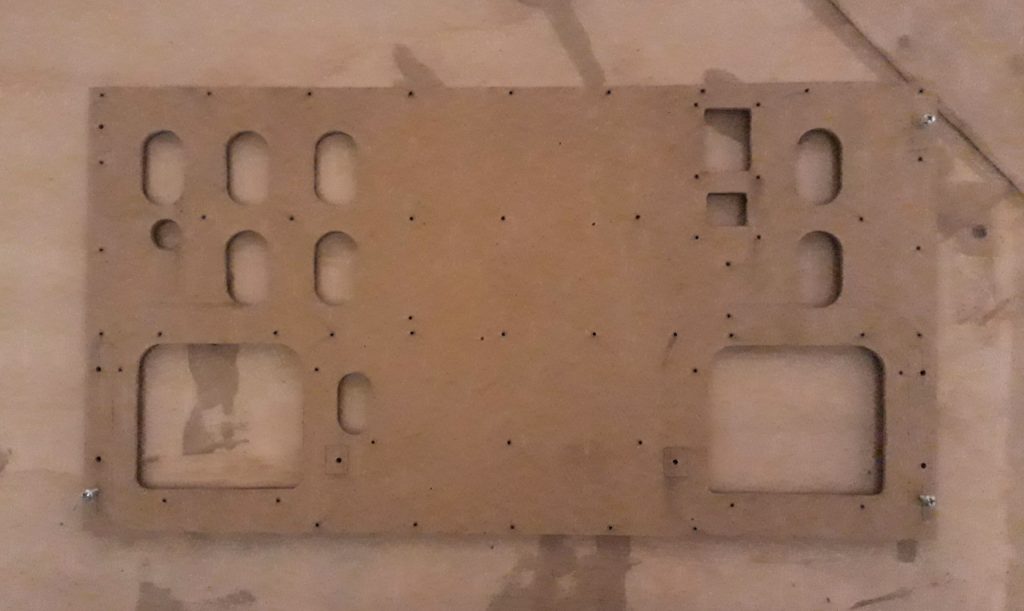
Since the panel is two layers thick (it has a backing of 1/8″ hardboard), I clamped the two layers together, drilled the mounting holes, then fastened them together with #8 screws. This would keep them aligned while cutting and drilling them. I started by cutting the smaller openings with a jigsaw, then moving to the larger openings last. Then I went around and drilled all of the remaining screw holes.
(Photo: The Apollo Education Experience Project)
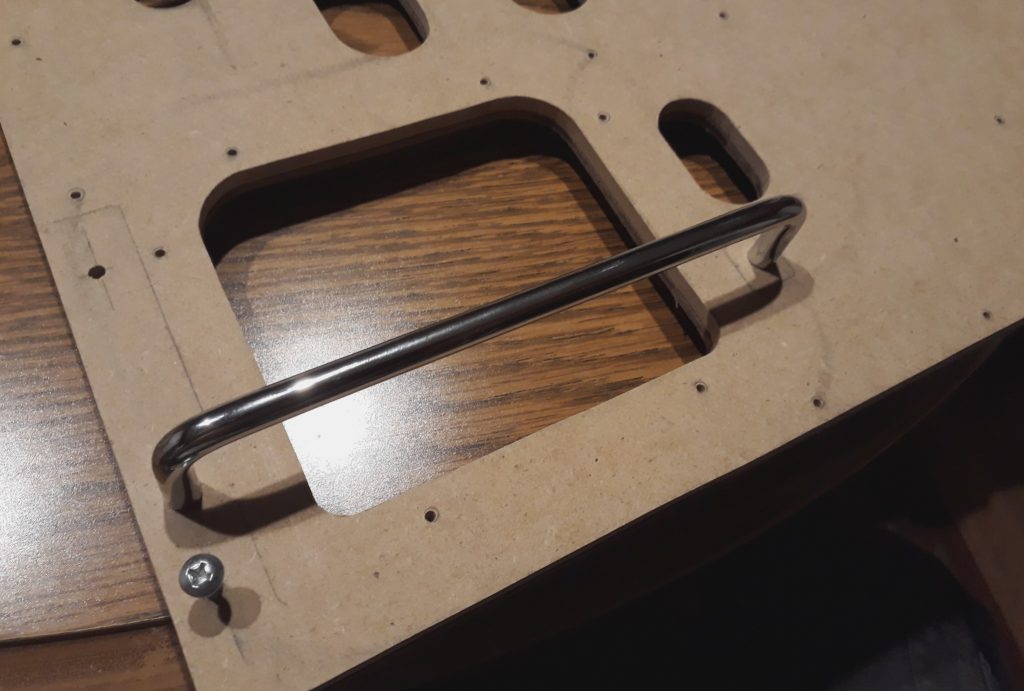
The two controller openings have handles so that the astronaut doing the navigating can steady his hands while in zero-G. I found some nice modern drawer pulls that were exactly the right length. I countersunk the holes for the handle mounting screws from the back, since they would eventually be sandwiched between two layers, then test-mounted the handles with #8-32 machine screws.
(Photo: The Apollo Education Experience Project)
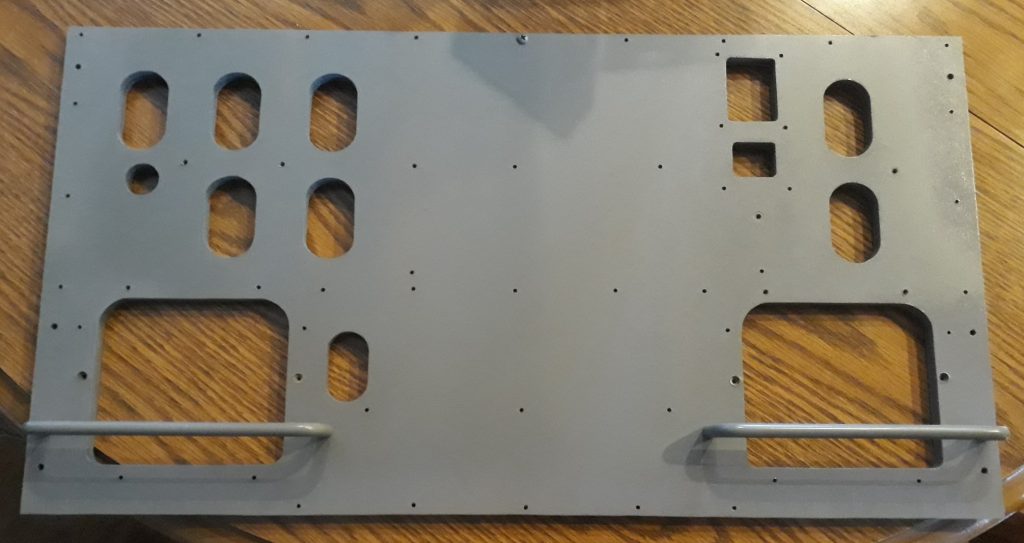
I removed the handles, then painted the panel with granite gray paint/primer. Similar to the connector recesses, I needed several coats to get the insides of the switch recesses. For the handles I rigged a jig out of scrap MDF so I could mount a handle for easily painting it from all angles. Once all these parts were dry, I reattached the handles to the panel.
(Photo: The Apollo Education Experience Project)


