
Navigation Station – Part 4
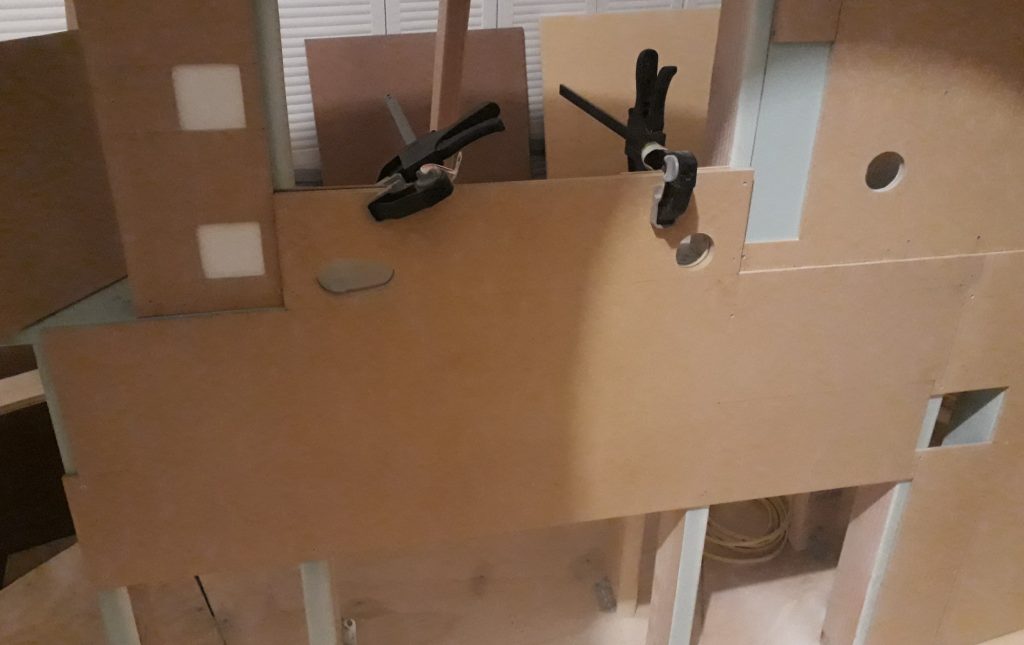
As seen in an earlier post, I had cut a closeout panel for the Lower Equipment Bay that would fit below the navigation station and provide openings for connectors for the removable rotation and translation controllers. These connectors are recessed into these openings, so I put several layers of material behind the main panel and cut openings in them, too. Multiple layers were necessary, since one layer would provide mounting support for the main panel above the girth shelf, one on just one side compensated for a slight misalignment of the 2×4 support board, and one provided depth.
(Photo: The Apollo Education Experience Project)
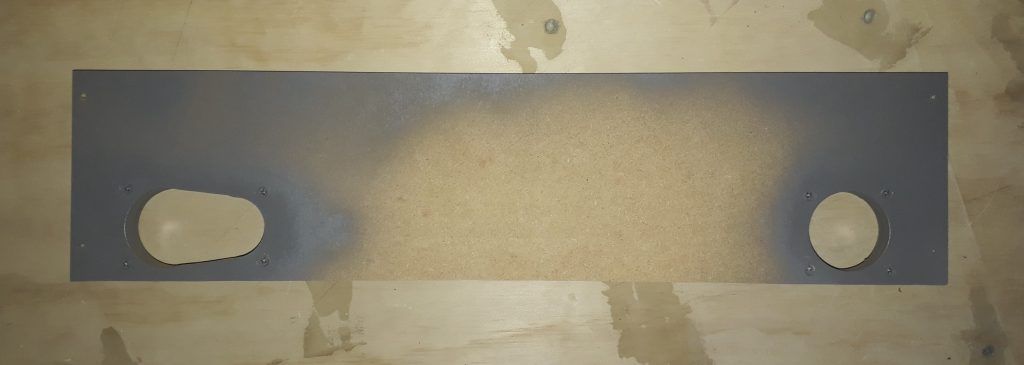
After removing the panel, I fastened the layers together (except for the top panel) with countersunk screws. I then painted the inside of the openings with a granite gray paint/primer. Spraying the inside of a recessed opening is not easy! It took several layers and lots of overspray to get it done.
(Photo: The Apollo Education Experience Project)
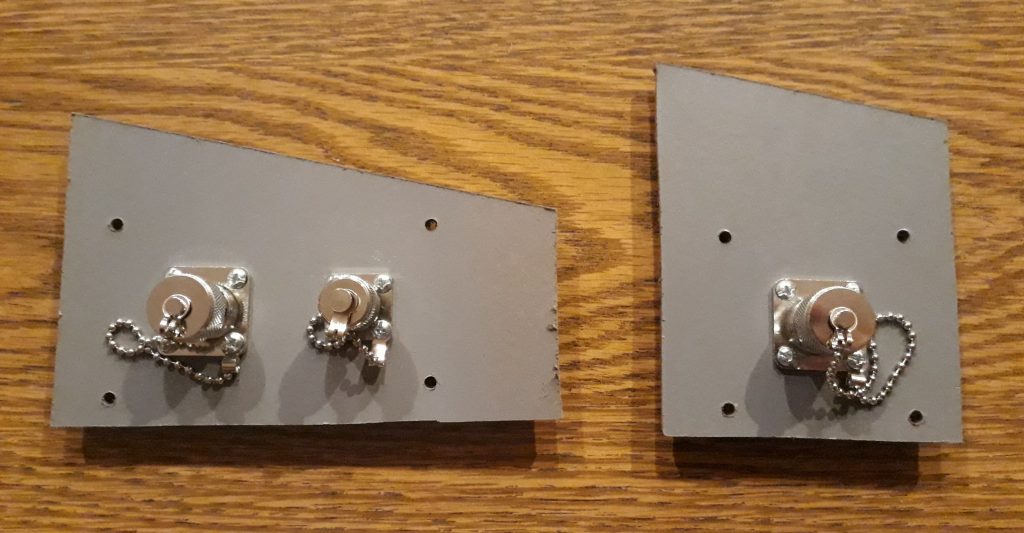
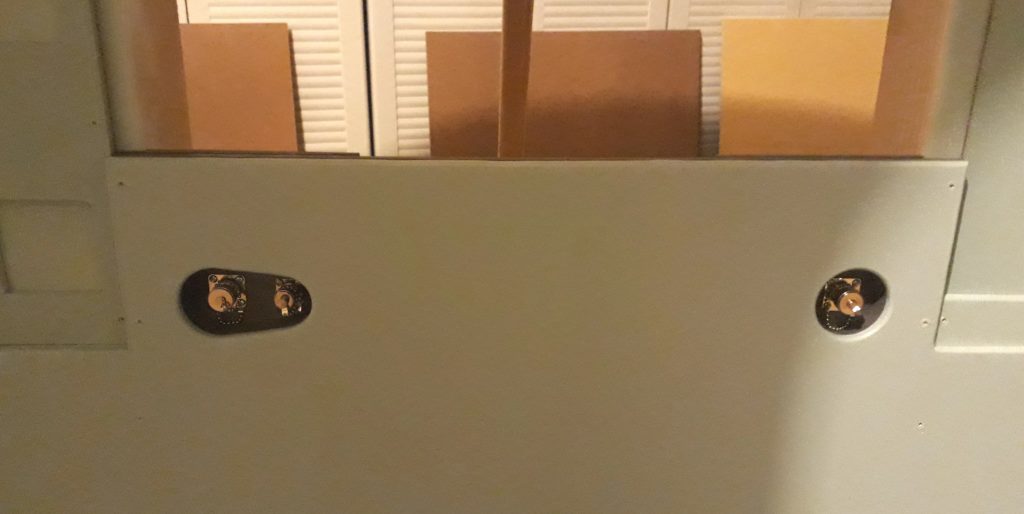
I took some hardboard scraps and fashioned some backing panels to mount behind the recessed openings. I drilled holes not only for mounting these to the layered panel assembly, but also for mounting connectors and dust caps to them. I’m not using the actual multi-conductor connectors, but just some panel-mount BNC and SO-239 connectors with caps. I painted the panels, then installed the connectors.
(Photo: The Apollo Education Experience Project)
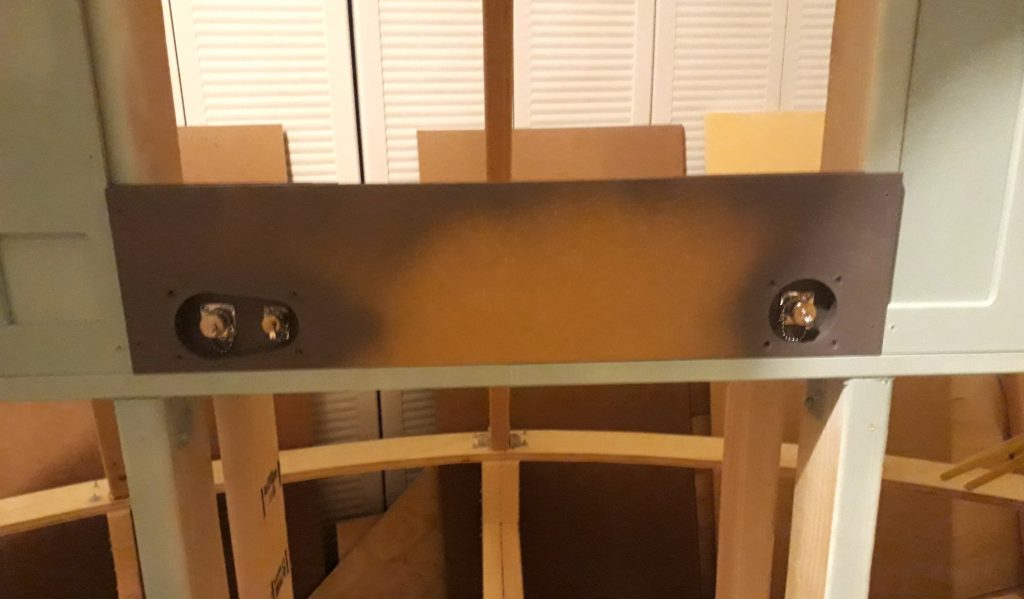
I installed the completed backing panels to the larger layered panel with the recessed openings, then installed the completed assembly in the CM
(Photo: The Apollo Education Experience Project)
Finally, I painted the top closeout panel in Serenity Blue, then installed it in the CM using the pre-painted screws.
(Photo: The Apollo Education Experience Project)


