FDAI (or “8-Ball”) – Part 5
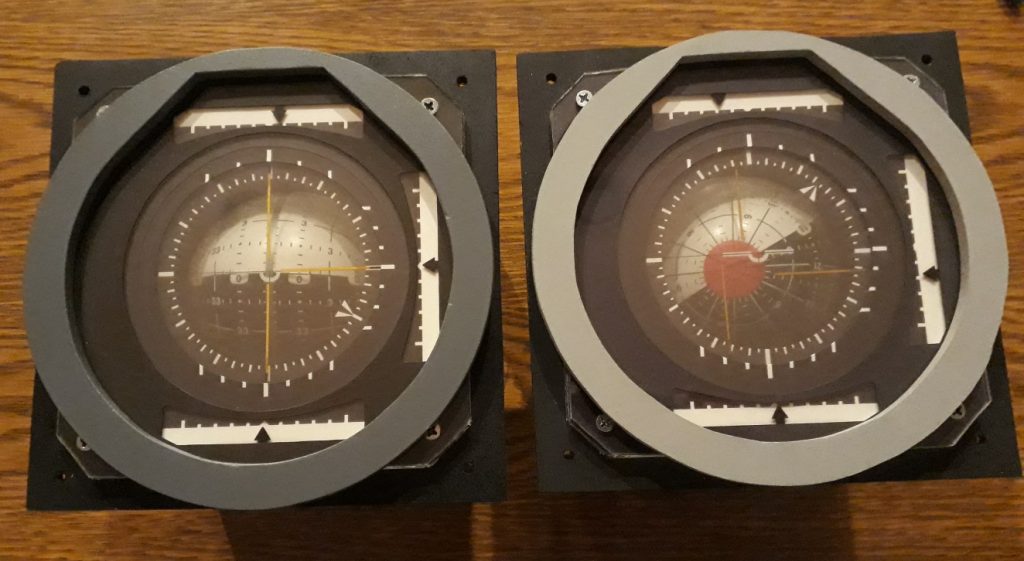
As you may recall, one of the first items I built for the Project was the Flight Director Attitude Indicator (FDAI), or “8-ball” as it is more commonly called. But the CM doesn’t have just one FDAI – it has two. This was demanded by the astronauts for redundancy because of its vital importance. As it turns out, the second FDAI was one of the last items I built to complete the Main Display and Control Panel.
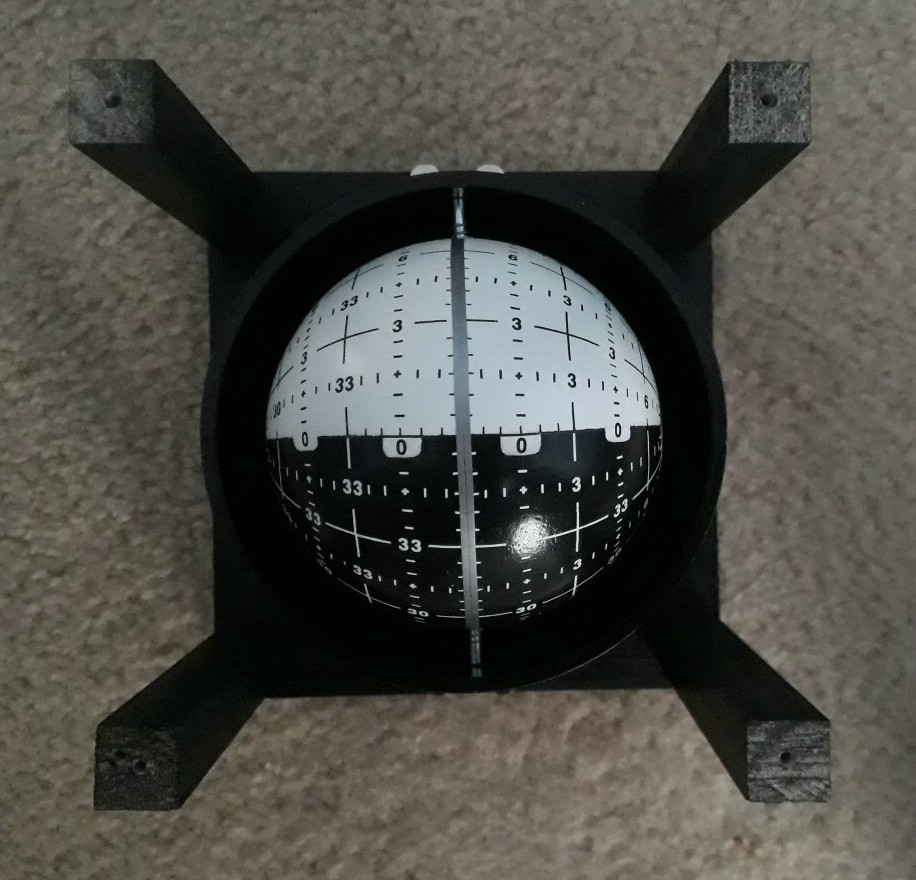
Construction of the second FDAI was identical to the first, so I won’t go over those details here. The only difference was that I wanted this FDAI to be in the home position rather than hovering near the red “gimbal lock” zone like the first one. With that in mind, I had to come up with a way of simulating the “split” between the two halves of the ball. On the real FDAI, the ball is not a single unit but two halves attached to an axle through a motorized support so that it can rotate the full 360 degrees of pitch. I did not want to go through that trouble, so I created the illusion of the split with some silver vinyl pinstripe tape from an auto parts store. I then added the appropriate markings with dry transfers in the same way as I marked the first one.
(Photo: The Apollo Education Experience Project)
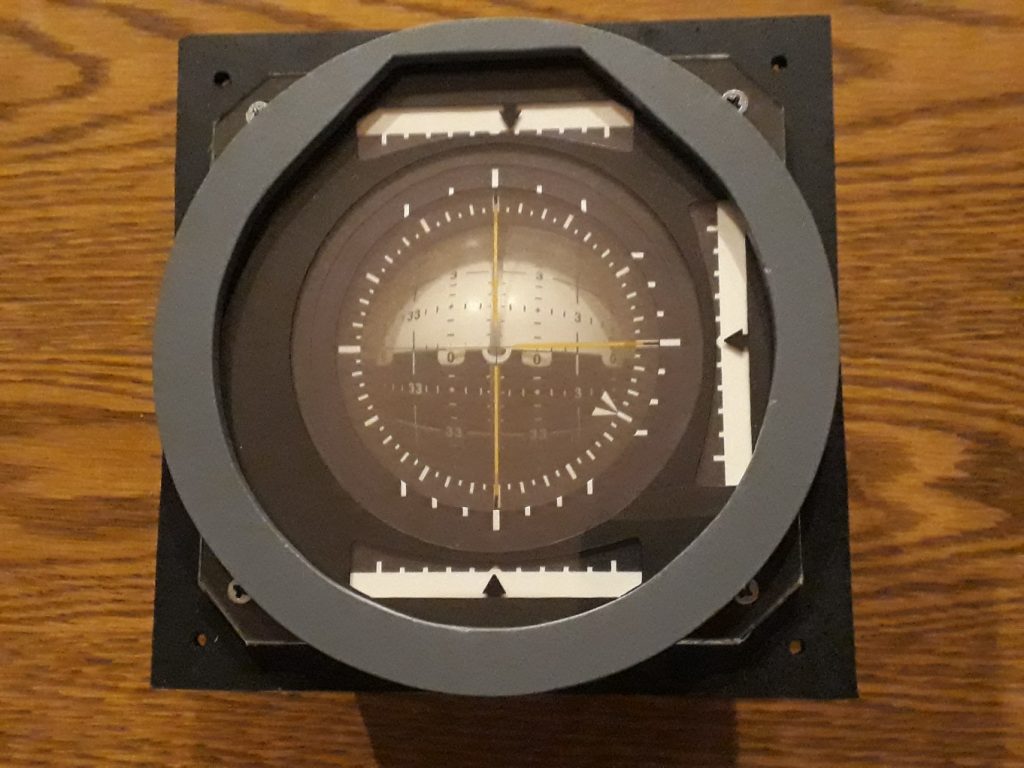
The only other difference was the position of the needles. While I could have placed all of the rate, roll, and error needles in the home position, I knew from the script that the upcoming Regent University shoot would need a shot of the main FDAI during an SPS burn. Because of that, I positioned one of the rate needles off-center and the roll indicator in the position referenced in the script. I printed the updated transparencies, the other layers of the bezel, and assembled the face.
(Photo: The Apollo Education Experience Project)
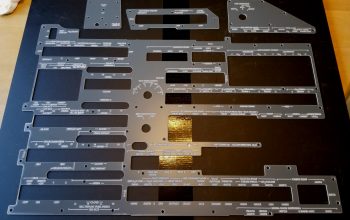
Now I had both FDAIs ready to install in the MDC. However, I noticed that I had painted the trim of the first FDAI only in primer, since it was done before selecting the color for the MDC. So I had to remove the face of the first FDAI, paint the trim, then reinstall the face. But that was a small thing to ensure the best appearance of the final assembly.
(Photo: The Apollo Education Experience Project)