
Acrylic Panel Overlays – Part 2
Since I’m shifting the current focus of the Project to completing the Main Display and Control Panel (MDC), I needed to get the last of its acrylic overlay panels completed. I sent the next files to S&T GeoTronics (www.stgeotronics.com) for cutting and engraving the overlays, including the main overlay for Panel 2 and the last piece for Panel 3. But for this article I wanted to show the process rather than simply say “the overlays were created.”
I start the process with the graphic I used for printing the full-size templates of the panels. I cut and paste the section I need into a new file, and adjust the transparency to about 60%. From that point, I start tracing the edges of the overlay in black and overlaying the text and other graphics, also in black. The font is Futura BT, which very closely matches the original. Once the file is complete, I add registration marks at the corners, remove the background image, then separate the file into two files – one with the outlines for cutting and the other with the text and graphics for engraving.
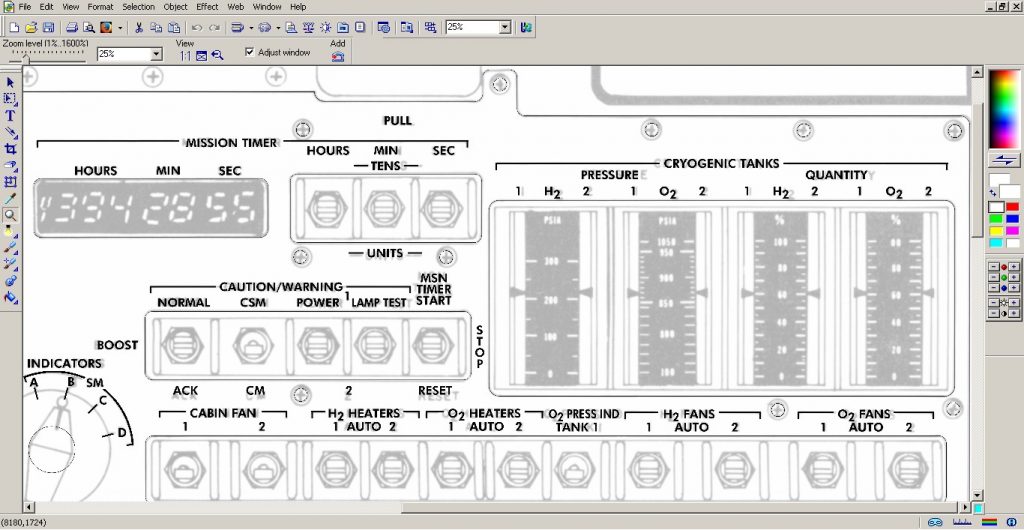
Main Display and Control (MDC) Panel 2.
(Image: The Apollo Education Experience Project)
Panel 2’s overlay was the first (and fortunately ONLY) overlay that exceeded the size of the acrylics sheets I had been using. Fortunately, I had been ordering half sheets (24″ x 24″), so I knew that I could obtain a sheet large enough. The newest partner to the Project, Johnson Plastics Plus (www.jpplus.com), from whom I had been purchasing the half sheets, graciously donated a full sheet of their Rowmark acrylic to the Project for this panel, in addition to a few more half sheets.
But the size of the plastic was only one issue – the other was the capacity of the laser itself. The bed of S&T GeoTronics’ laser had maximum dimensions of 600mm x 500mm (about 24″ x 20″), far too small to cut Panel 2’s overlay (which was approximately 19″ x 28″). Marc Tessier of S&T GeoTronics, though, suggested that he could reposition the acrylic between two consecutive passes. In order to do this, I needed to split the cut and etch files into two pieces each for the two passes. I found a great place which would minimize any effects of a slight misalignment, added additional registration marks, then sent the files to Marc. Once Marc received the files, he converted them into the format needed by S&T’s laser, then started prepping the laser and the plastic for the job.
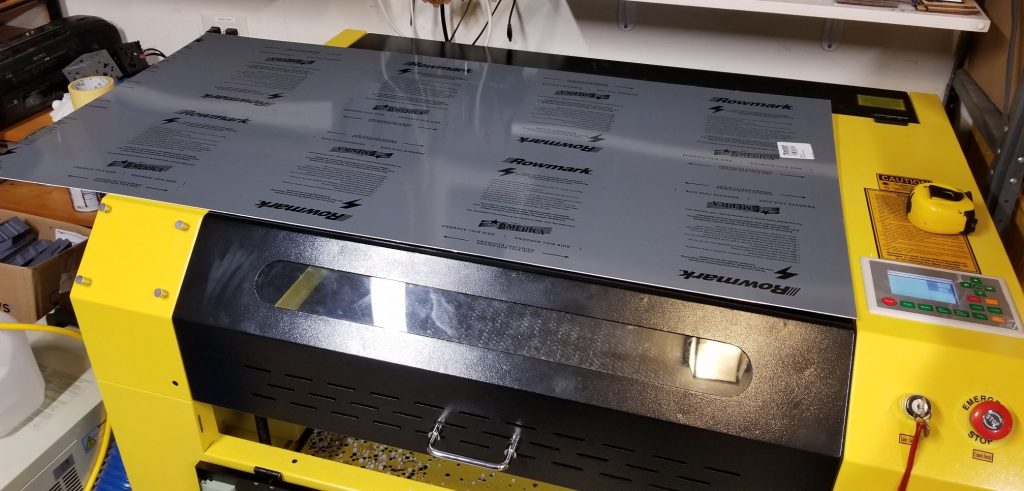
on top of the laser cutter/engraver at S&T GeoTroncs).
(Photo: Marc Tessier / S&T GeoTronics)
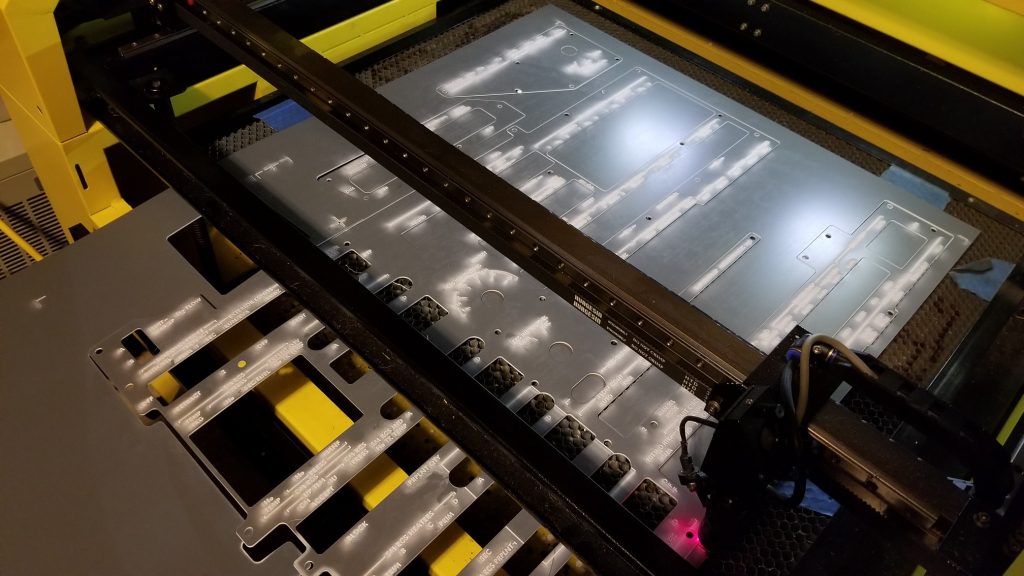
The laser can handle material 24″ wide maximum, but even though the length of the bed for a static cut is 20″, the housing has openings allowing a longer piece of material to be fed through it. The trick will be in aligning the plastic accurately between passes. Marc decided that the best sequence would be to do the first pass then pull the plastic out the front for the second pass instead of pushing it out the back. So he set up the plastic for the first pass, and used some neodymium magnets to help hold the plastic in place for the first pass.
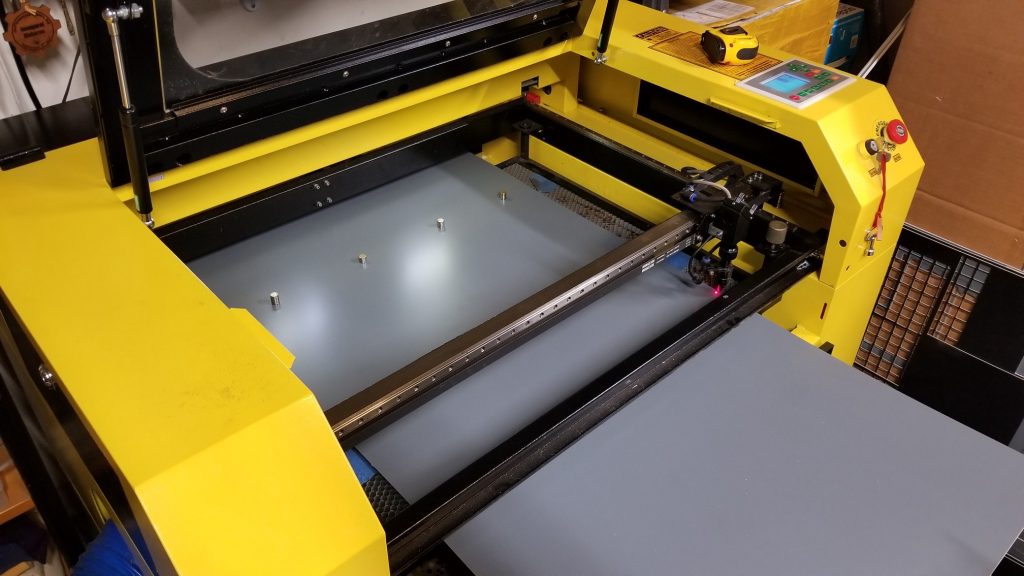
It is held in place with a row of neodymium magnets.
(Photo: Marc Tessier / S&T GeoTronics)
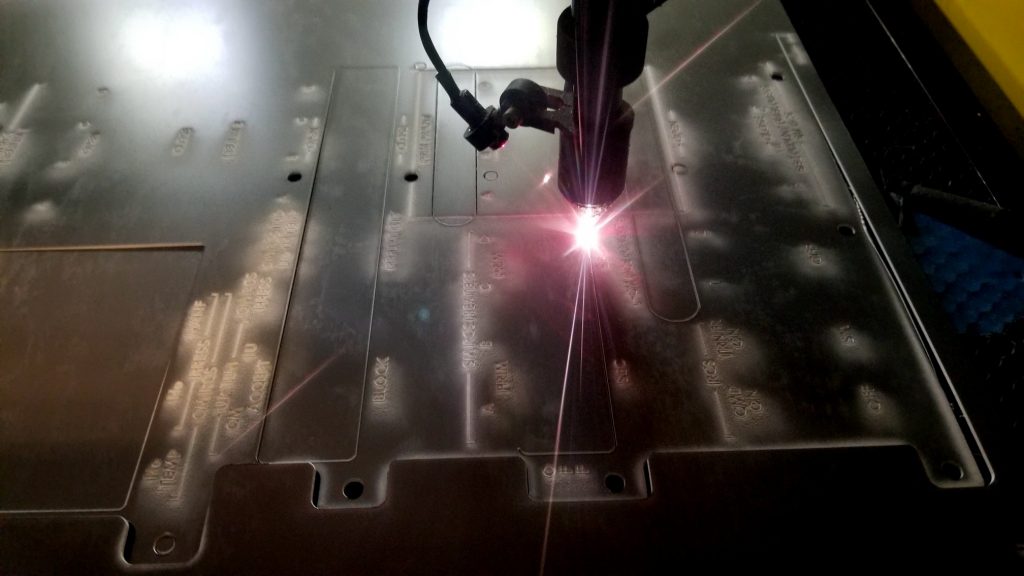
The engraving portion of the first pass is completed first. The laser engraves the acrylic in a raster fashion, in much the same way that an inkjet printer would print a page of paper. You can see in the photo below how the laser is scanning across the sheet, and how it engraves the text and graphics incrementally.
(Photo: Marc Tessier / S&T GeoTronics)
Once the engraving portion is complete, the cut file is loaded and the laser cuts the sections along the outlines in the file. Now, instead of scanning raster fashion, the laser traces the lines, which have been converted to a vector form before being loaded into the laser.
(Photo: Marc Tessier / S&T GeoTronics)
Once the first pass of engraving and cutting is complete, Marc pulls the acrylic back out the front of the laser. Since the laser isn’t designed for this, Marc had to improvise measurements and markers on the bed to use in conjunction with the alignment/registration marks that I had added to the files. Three of these marks were common between all of the files, and were positioned along the “seam” where the two files would connect between passes. Also, rather than removing these three marks from the files before sending them to the laser, they were left in place so that the alignment could be checked during and after the second pass. The photo shows that the alignment between the two passes, while slightly off, was little more that the width of the laser beam itself.
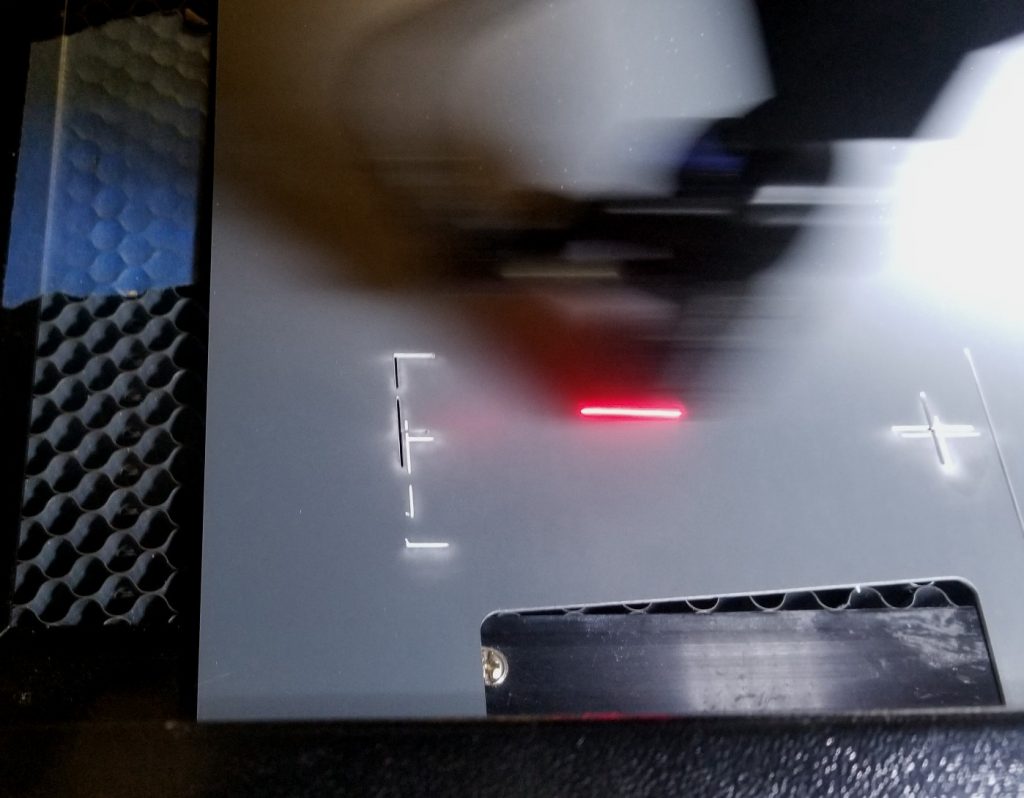
They are extremely close to the marks engraved at the end of the first pass.
(Photo: Marc Tessier / S&T GeoTronics)
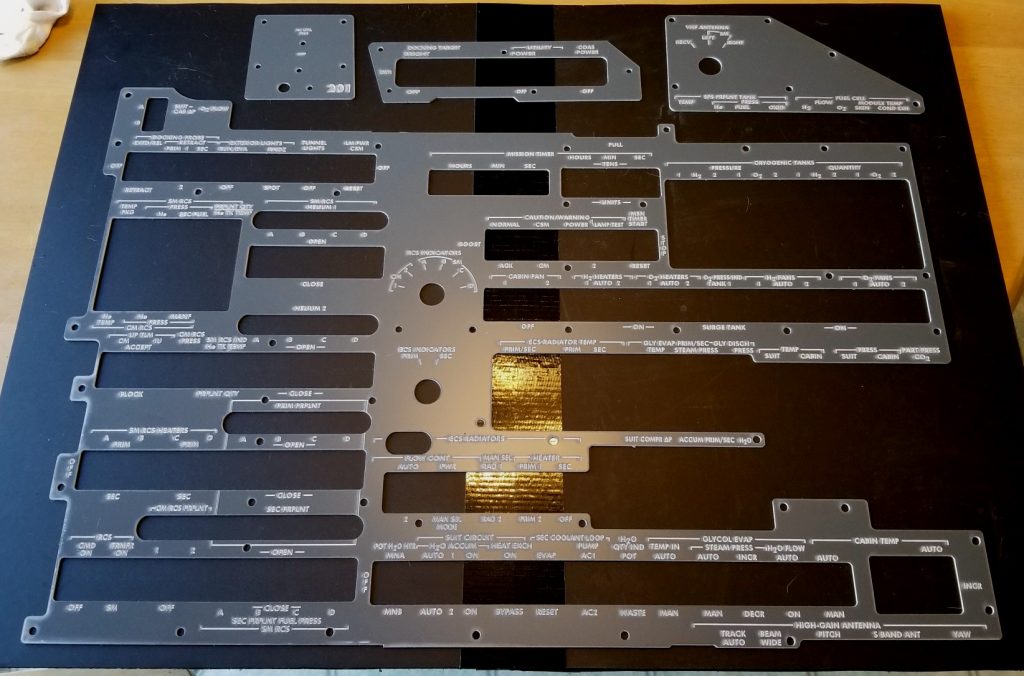
The second pass of the engraving followed by cutting proceeded to completion. The engraved lettering has a hazy look which is a residue resulting from the laser literally burning away a portion of the acrylic. This haze is removed during post-processing of the finished overlay.
(Photo: Marc Tessier / S&T GeoTronics)
The finished acrylic overlays are removed from the laser and separated from the unused acrylic material. The haze is then gently wiped off to reveal cleaner lettering and graphics. Beautifully done, Marc!
(Photo: Marc Tessier / S&T GeoTronics)


Do you have the model number for that Romark Plastic? I found the Johnson Plastics but the model number is needed.
Thanks bunches in advance!
Sam