
CM Interior – Part 5
The equipment bay half of the CM had a number of small and large doors for various purposes, mostly for storage or stowing equipment. These doors wee all attached with continuous hinges (“piano hinges”), and each had a pair of squarish openings for the latching mechanism. The latch consisted of a pair of rods that extended from these openings (where they had “L”-shaped finger pulls) to the edge of the door and went into holes in the cabinet walls. Squeezing the “L” pulls together released the rods from the holes and allowed the latch to open. Re-creating that mechanism would be a little harder than I want to make it, so I’ll hold the doors shut with magnetic latches, but I’ll still have the square holes for finger pulls.
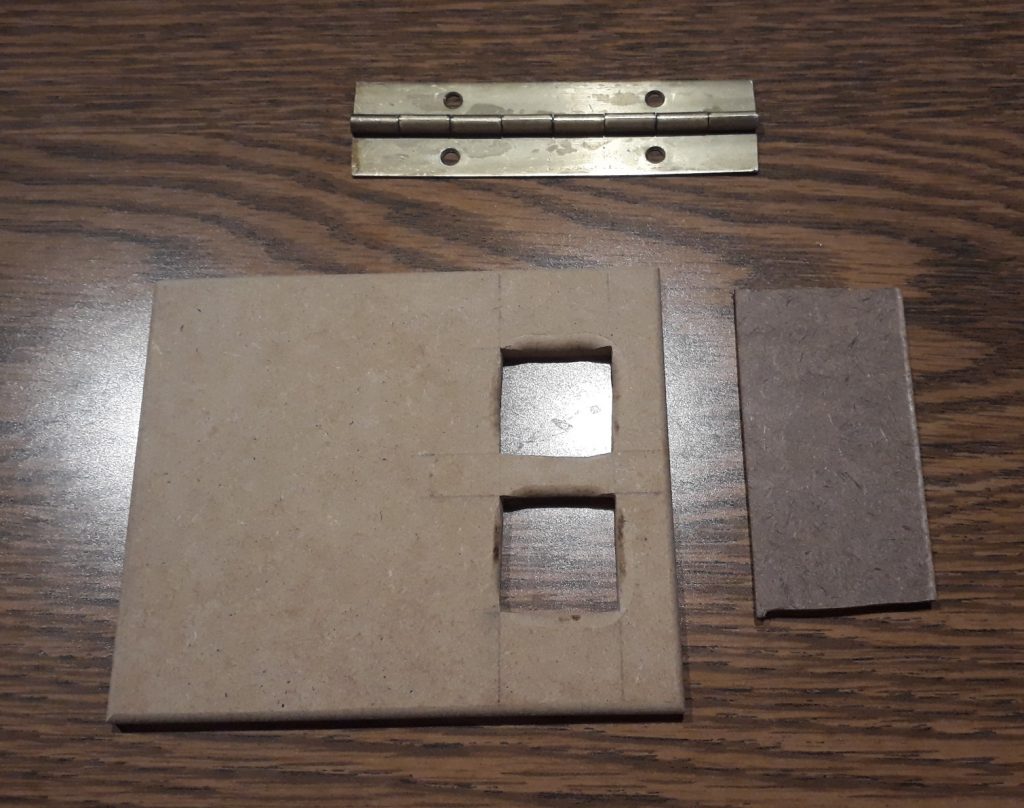
I started with door B7, which I’ll actually be using as the access hatch for the service entry circuit breakers. It is probably the smallest of the doors, so it would also be a good test to make sure my plan for the doors will work OK. I measured and cut the door from 1/4″ MDF, then measured and cut the 1″ square openings. I cut a length of brass hinge to fit, and a small piece of hardboard as backing for the finger pulls. I rounded the outer edges of the door and openings, and discovered a minor issue. The guide bearing of the router bit won’t go all the way into an inside corner, and all four corners of each hole were of course inside corners. I kept this one as-is since it is small and out of the way, but I’ll remember to round the inside corners on all future holes. Finally, I beveled the inside edges of the bar between the square openings to help give a better hold to the finger pulls.
(Photo: The Apollo Education Experience Project)
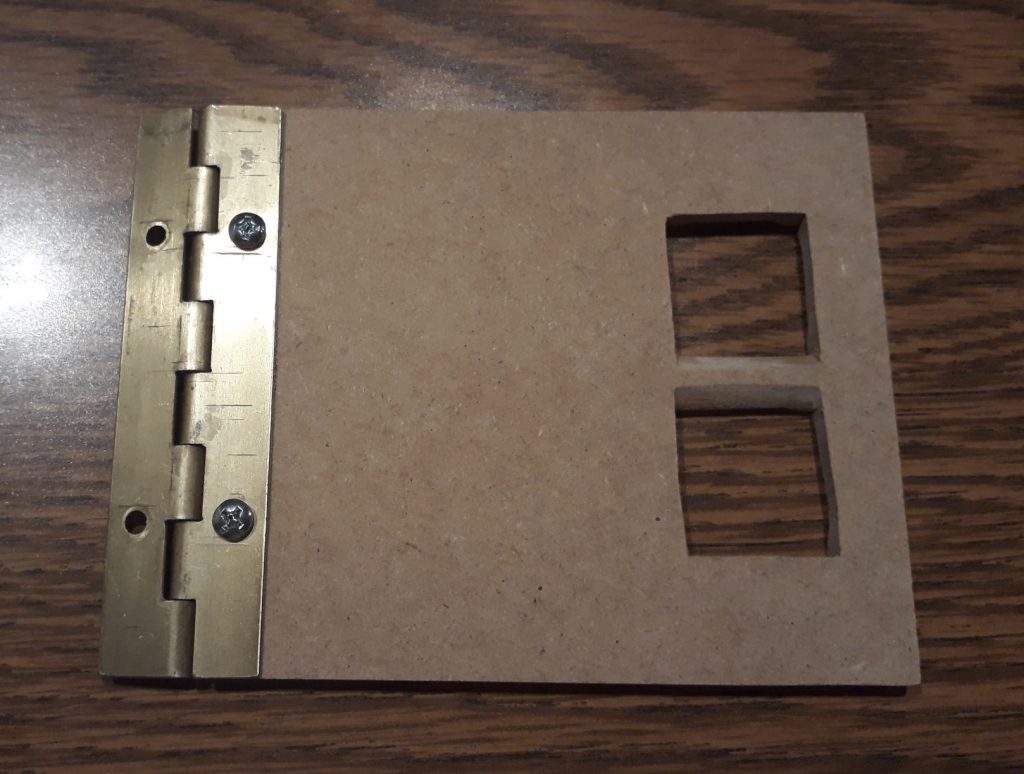
The hinge attaches with screws, and since the MDF is just 1/4″ thick, I decided to reinforce the connection with some really strong glue. After marking and pre-drilling the holes for the screws, I applied glue, moistened the hinge plate with a damp towel, positioned the hinge, and installed the screws. The glue instructions say to clamp the piece, but the screws are doing that job for me.
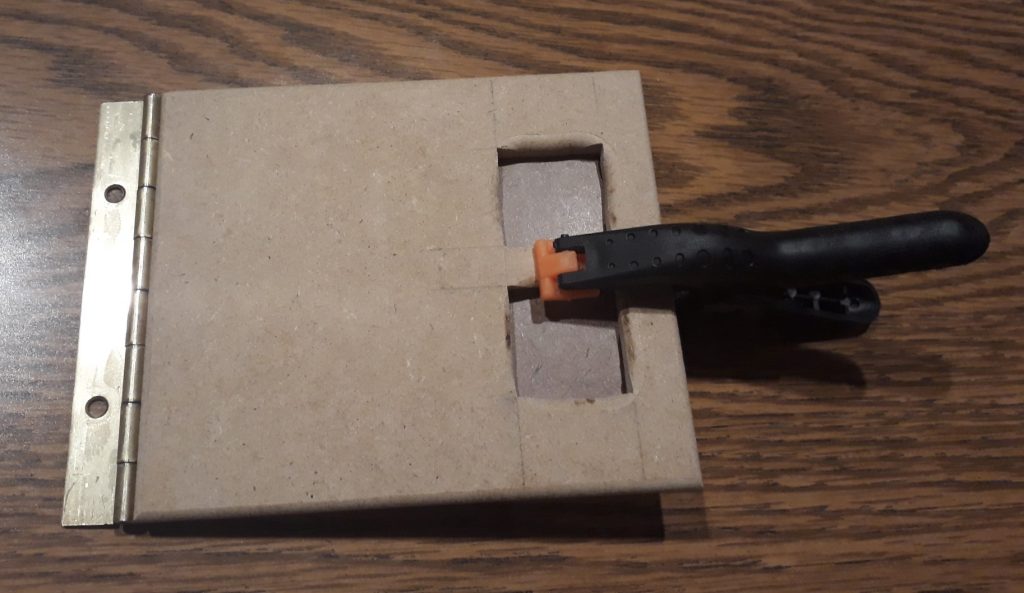
The beveled inside edges of the finger-pull bar are visible here.
(Photo: The Apollo Education Experience Project)
Next, I positioned the piece of hardboard and marked it. I applied glue around the finger holes, placed the hardboard, and clamped it in place.
(Photo: The Apollo Education Experience Project)
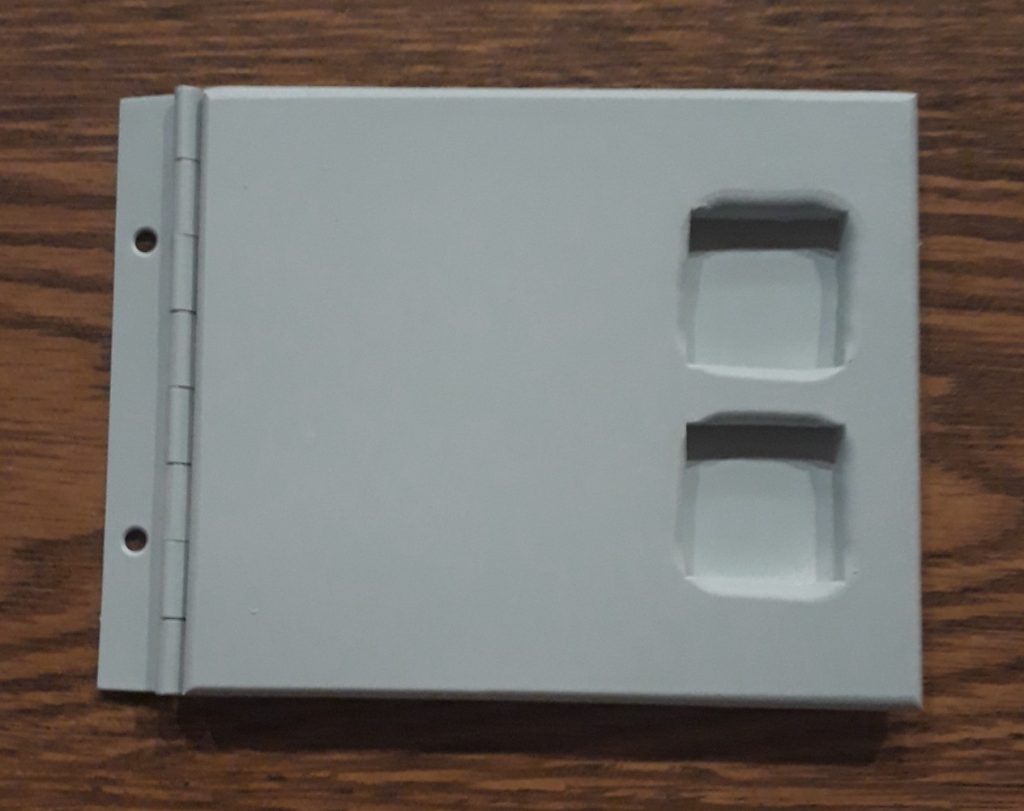
Once the glue had plenty of time to dry, I gave both sides of the door a coat of primer, a coat of serenity blue, and a coat of matte clear.
(Photo: The Apollo Education Experience Project)
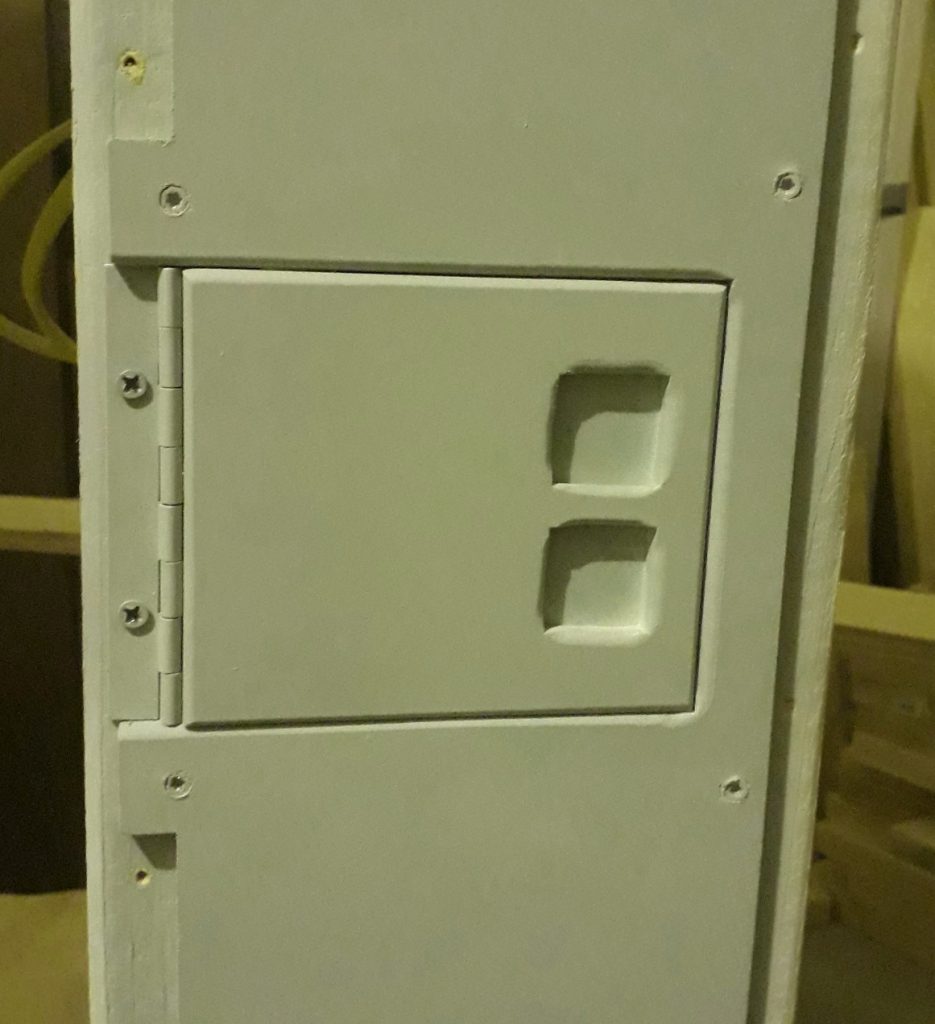
I had just finished priming and paining the panel that surrounds Door B7, so I re-installed it then positioned the door for installation. I attached the door with a pair of wood screws, then tested the door. Minor problem – the screws that hold the hinge to the inside of the door are not countersunk and were blocking the door from closing all the way. It is mounted to a 2″x4″, and I guess I had forgotten to take that into account. But no matter – I drilled some shallow pocket holes for the screws, and now the door closes just fine. I removed the door, reinstalled the screws, masked off the floor, and did a quick spray of serenity blue onto the holes and the screws. I then reinstalled the door to stay.
(Photo: The Apollo Education Experience Project)


