CM Interior – Part 6
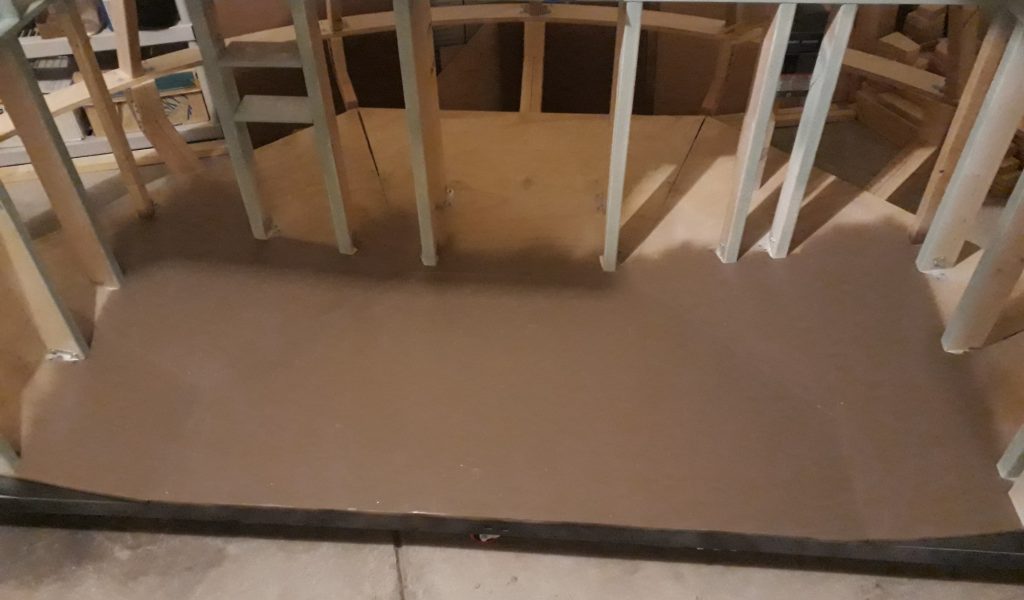
Now it’s time to start finishing up the appearance of the equipment bay half of the Command Module. I had been putting a lot of this off to prevent it from getting messed up while I worked on other things. First of all, I painted the floor. Looking at photos of the real CM, as well as the paint selections available, I went with a “dark taupe”. Just so it can withstand foot traffic, I applied two coats of white primer, two coats of the dark taupe, then two coats of clear satin. The result looks very nice, the color pretty much matches the real CM, and it should be rather durable.
(Photo: The Apollo Education Experience Project)
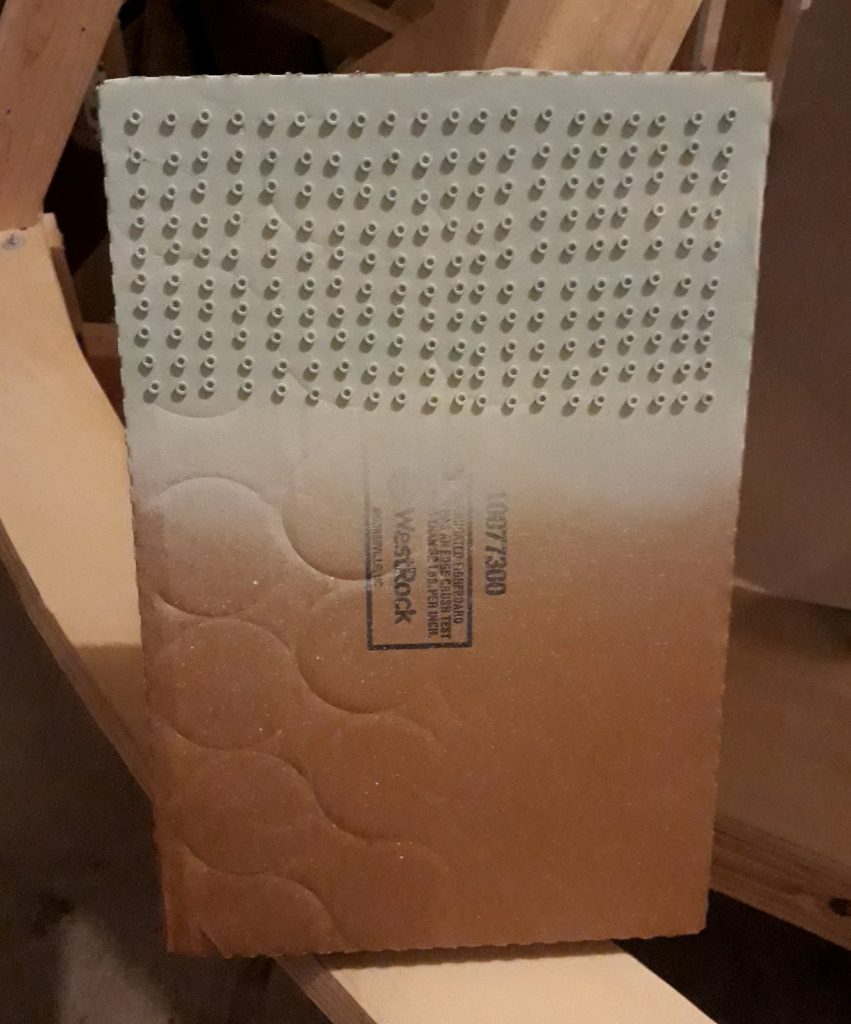
Next, I needed to reinstall the close-out panels I had previously cut. I painted all of them with the same “Serenity Blue” I had been using for other interior area. But I didn’t want the screws to shine with their silver heads, and neither did I want to spray any more paint in the bay half now that the floor was finished. So, I painted a whole host of finish screws with primer and Serenity Blue. I used a cardboard box as a jig, and painted 200 at a time. The jig also keeps them handy while I’m installing them, and I can easily tell how many I have left before needing to paint another batch.
(Photo: The Apollo Education Experience Project)
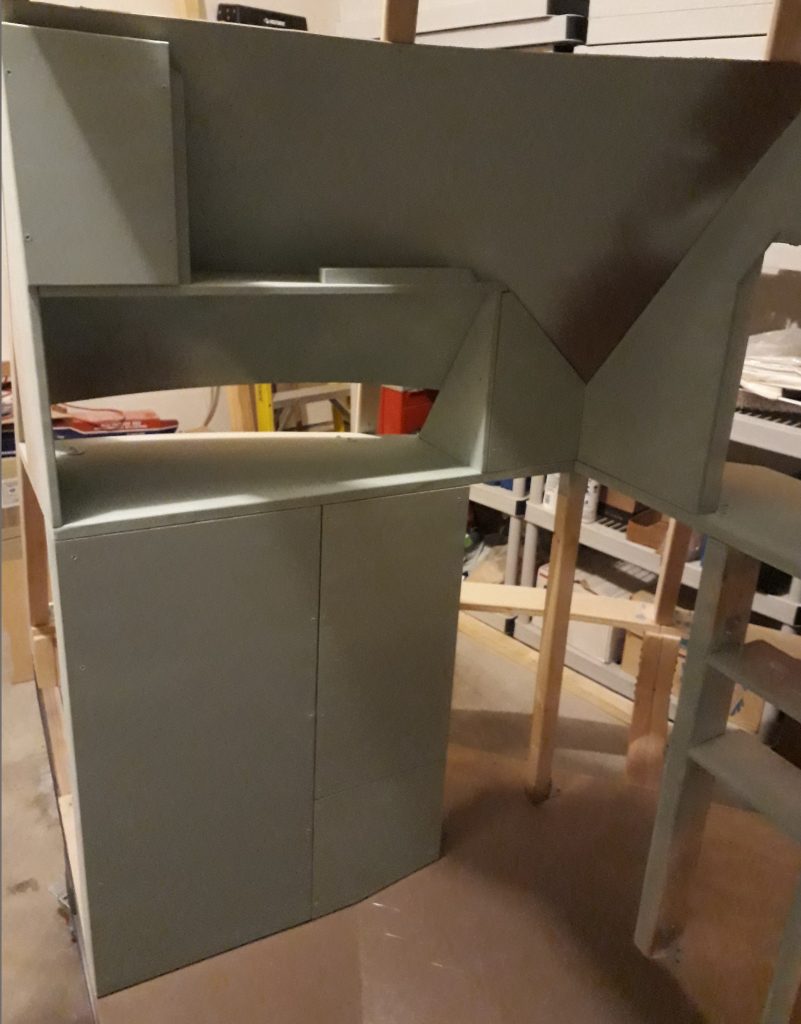
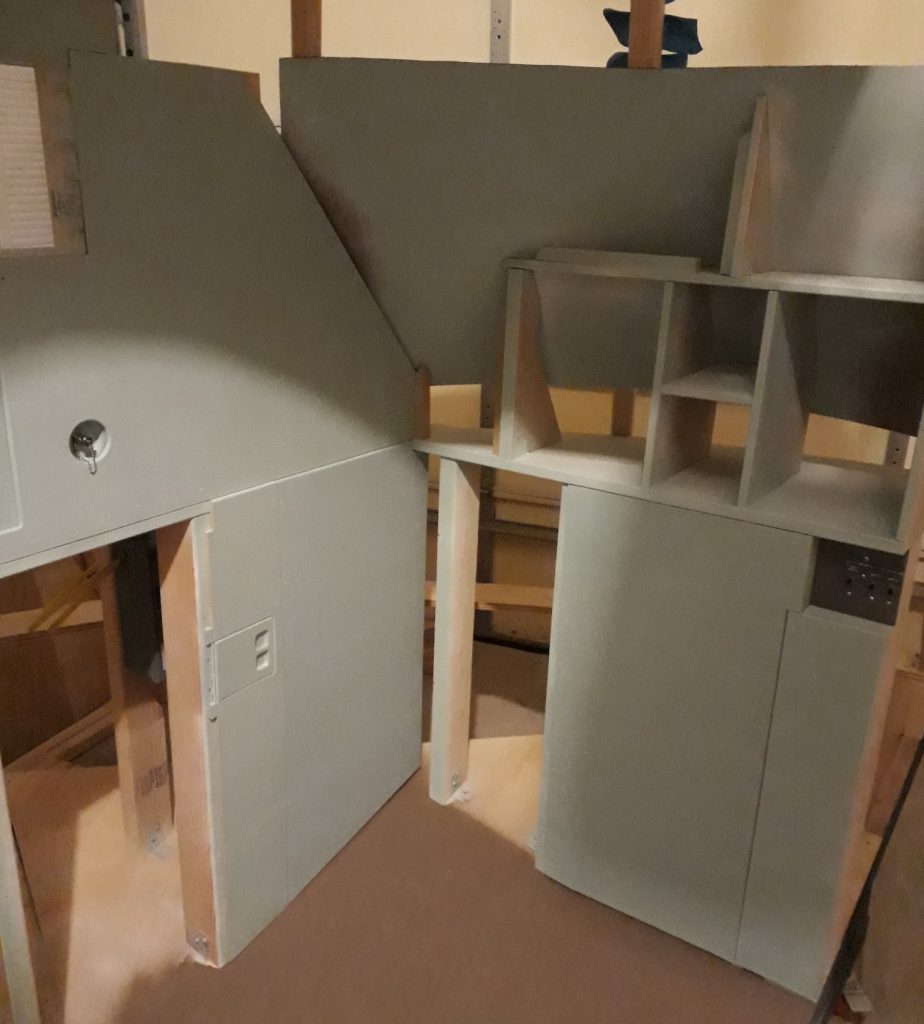
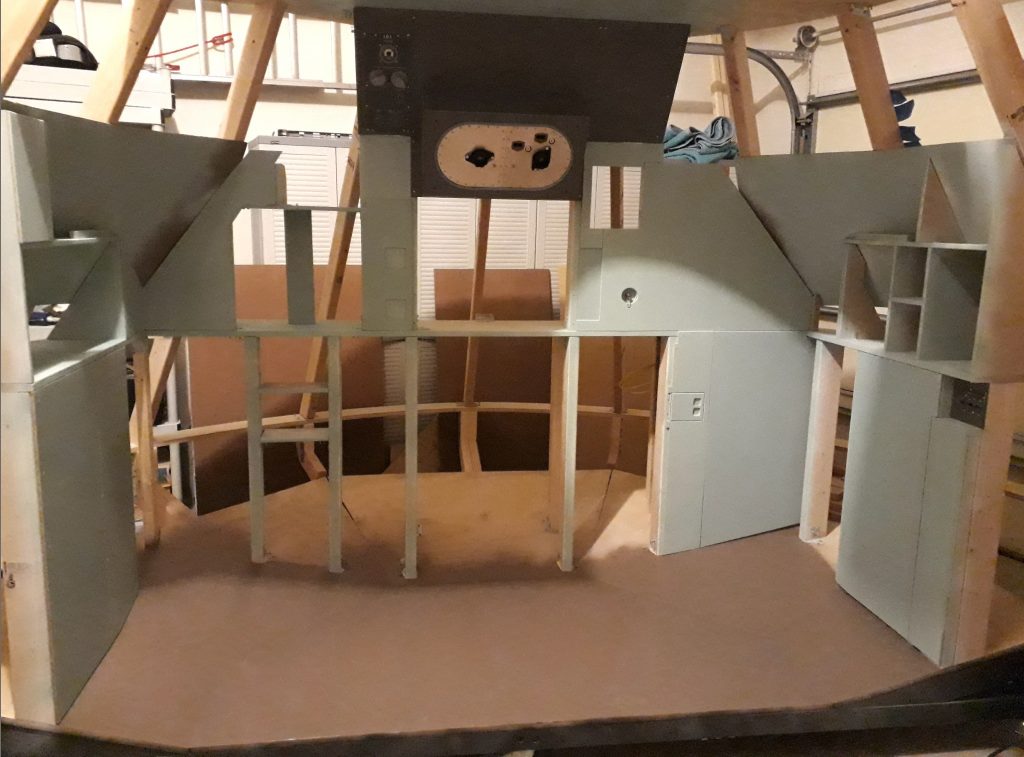
Installation was easy, since the holes were already drilled and countersunk from the earlier install of the bare panels. Closeout panels for the Left-Hand Equipment Bay (LHEB) and Right-Hand Equipment Bay (RHEB) were complete, leaving only doors and control panels remaining to be installed. I also installed some of the closeout panels for the Lower Equipment Bay (LEB), but not all of them are done.
(Photo: The Apollo Education Experience Project)
(Photo: The Apollo Education Experience Project)
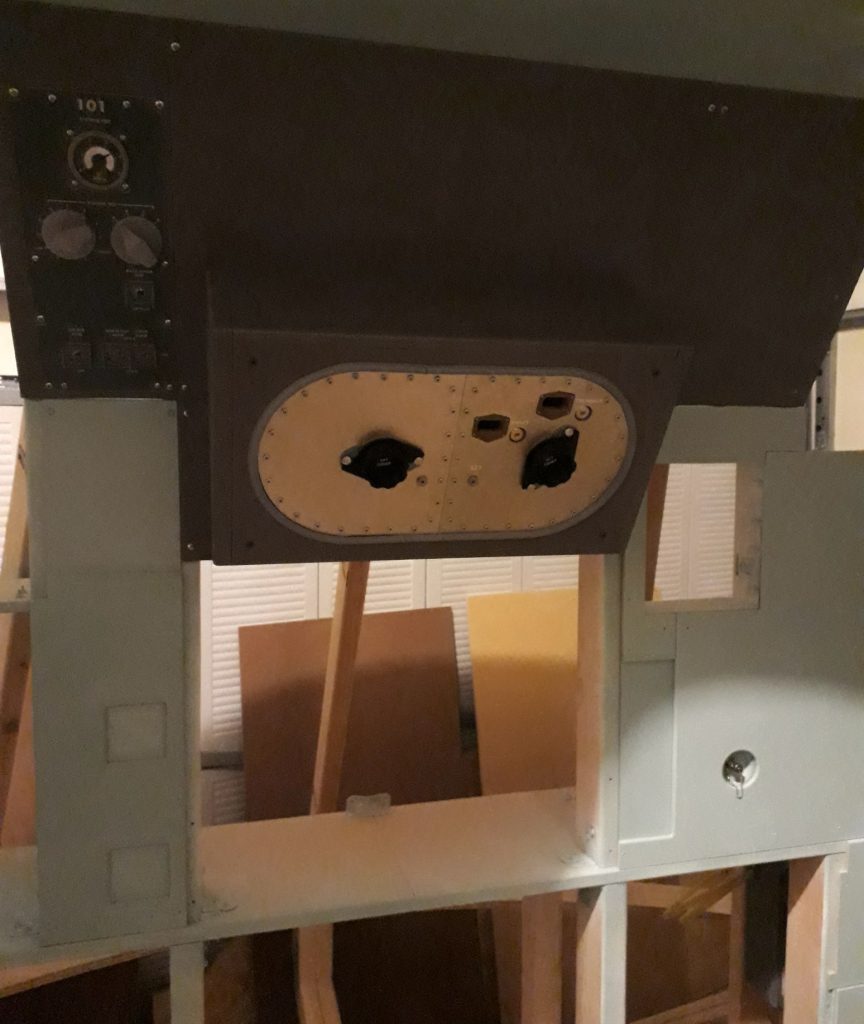
The panels to either side of the navigation station consist of multiple layers/pieces to achieve a certain 3D effect. The panel to the right with the connector had already been installed, but I installed one additional piece that fit to the top and left of the DSKY. I also installed both layers of the panel to the left.
(Photo: The Apollo Education Experience Project)
The interior of the CM’s bay half is really starting to look like a CM now, and not just a pile of lumber!
(Photo: The Apollo Education Experience Project)

