
Talkbacks
One of the more unique instruments on the Apollo Command Module control panel was the “talkback annunciator,” or simply “talkback.” This was an electromechanical device (think relay or solenoid) that would display one of two appearances depending on the input signal. These were usually used to indicate positions of valves, such as those for the reaction control system, but could be used to indicate just about any kind of feedback status.
The two appearances were defined by the position of a gray cover or “flag” that could be moved in front of a black and white striped pattern, giving a very easy-to-read visual indicator of the status. The gray position was (obviously) called “gray”, while the striped pattern was called “barber-pole” due to the diagonal stripes. In the movie “Apollo 13,” Jim Lovell (Tom Hanks) says at one point, “SM RCS iso valves are all gray,” meaning the Service Module’s reaction control system’s isolation valves are all open so Jack Swigert (Kevin Bacon) can maneuver to dock with the LEM. When he docks, we can see the talkbacks for the docking probe change from “gray” to “barber-pole”, and in fact Hanks says, “That’s it! Talkbacks are barber-pole.”
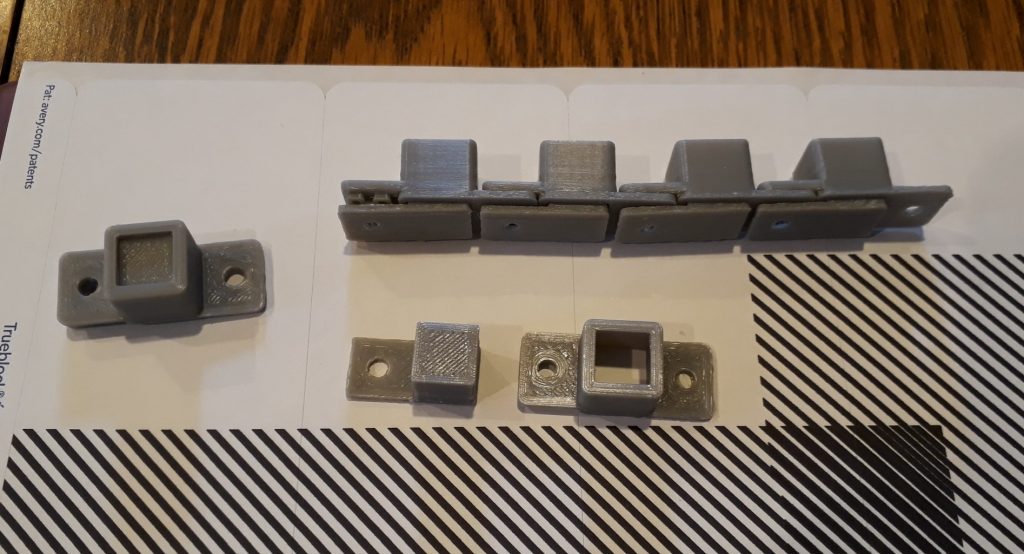
I’m not going to make any working talkbacks, but I do need to re-create the apperance. I modeled the bezel, which is actually pretty small, with a pair of “ears” for mounting. The original talkbacks were mounted very close together, with one screw between each pair holding both in place. I found some photos of an unmounted talkback and saw that the ears were offset so they could overlap the ears on adjacent talkbacks, so I made mine the same way. I also modeled an insert that could either be gray by itself or have a barber-pole decal placed on it. The insert would then fit inside the bezel and hold a small plastic window in the opening, and it had its own “ear” that would overlap the ear on the neighboring talkback.
(Photo: Apollo Education Experience Project)
At this point, let me express my appreciation to James Sanderson and Marc Tessier of S&T GeoTronics ( www.stgeotronics.com ). They very generously donated a Creality CR-10S 3D printer and some filament to the Project for producing things like these talkbacks.
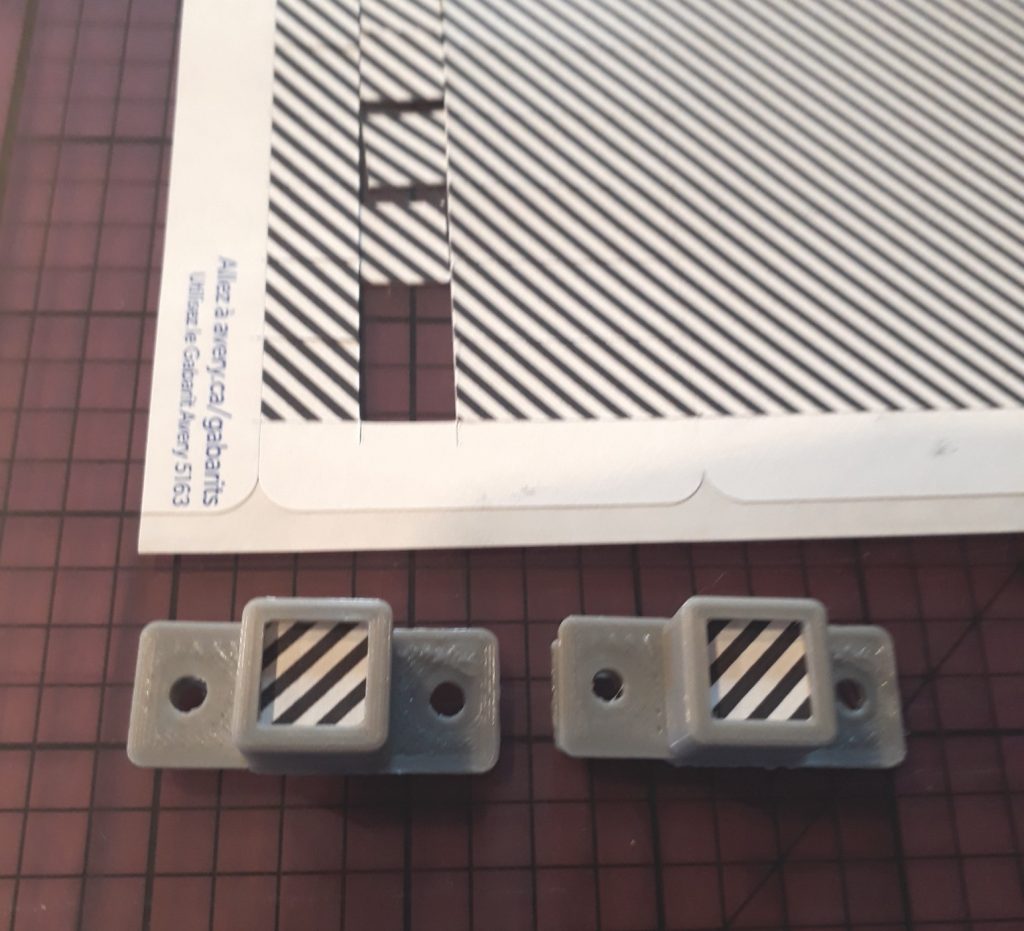
I created a PNG file of nothing but black and white diagonal stripes, and printed it on a sheet of large-format mailing labels. I carefully measured and cut several rows of squares from the labels to match the dimensions of the top of the insert, then applied the square labels to several of the talkback inserts. Once inserted into the bezels, they look pretty good.
(Photo: Apollo Education Experience Project)
Next, I cut a number of matching-size squares from a sheet of transparency film. I inserted one square into each bezel, then installed the insert. And just like that, I have my replica talkbacks! “Talkbacks are barber-pole!”

(Photo: Apollo Education Experience Project)


