
Gauges
One of the next things I tackled was gauges. There are two basic types of gauges on the CM – round gauges and rectangular or “edgewise” gauges. They’re called “edgewise” because instead of observing the movement of the gauge rotating like a clock from the front, you’re observing the movement from the side or edge. On these types of gauges, the movement appears vertical instead of rotational.
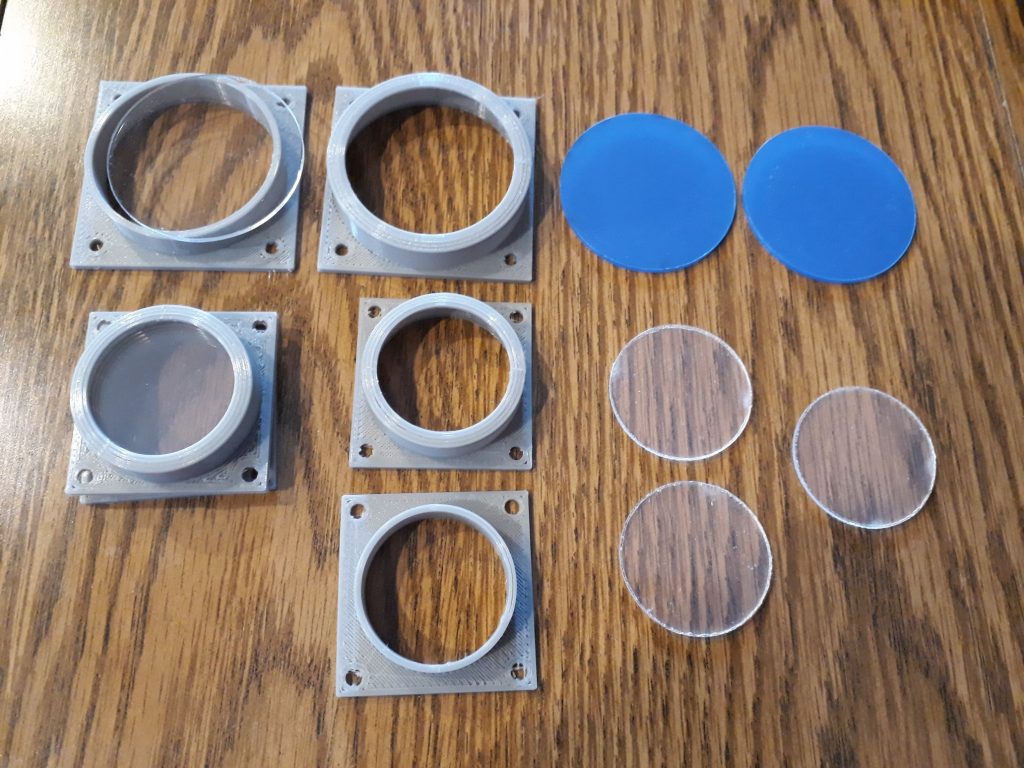
I started with the round gauges, since I thought they would be easier. Using Blender, I created a two-piece housing – a bezel and an insert. The insert will hold a couple of pieces of 2mm acrylic along with a few layers of paper and transparency film printed with various parts of the gauge. I measured the original drawings of the control panel, and found several different sizes of gauges. I scaled the original model up and down to get all the sizes. While I started 3D printing the housings, Marc Tessier of S&T Geotronics (www.stgeotronics.com) laser-cut a number of the acrylic circles in the various sized I needed.
(Photo: Apollo education Experience Project)
I then started work on the layers I needed to make the faces. After some study of several photos, I determined that three layers would work – the gauge scale printed on paper, the needles printed on transparency film, and an outer face printed on cardstock.
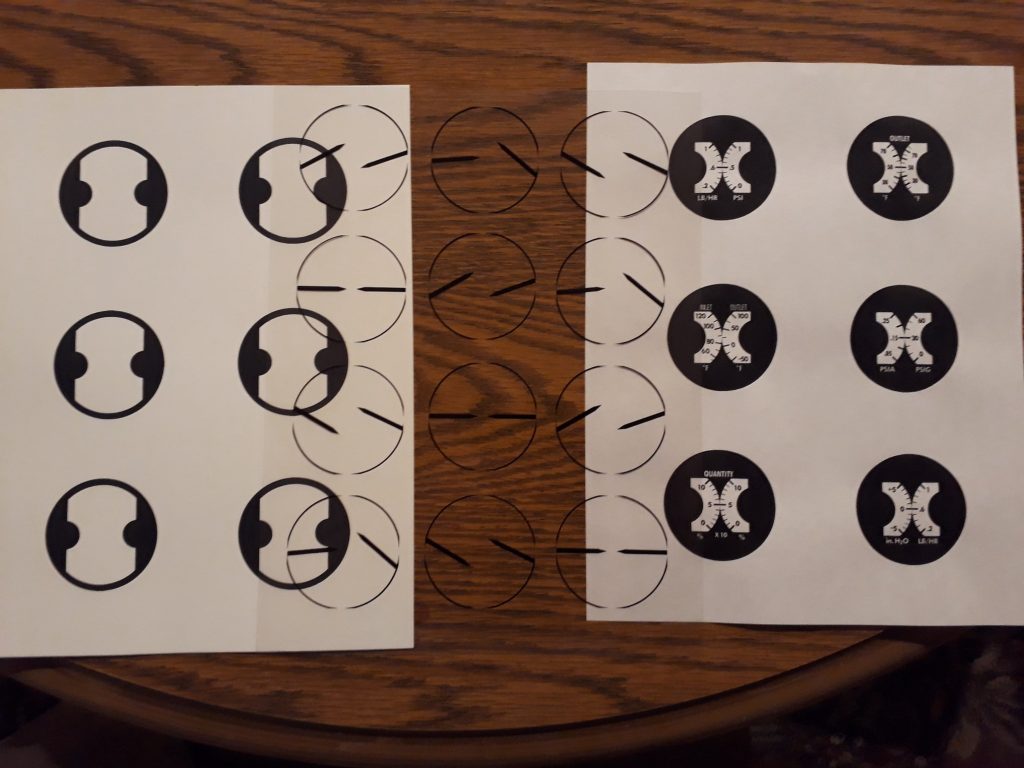
Many of the gauges are actually dual gauges – two separate gauges in one unit with two scales and two needles. I started with these. I managed to find a very high-res photo of one of these gauges from an auction site, and used it to create templates for the different gauges. The outer face is the same for all, so I just printed a bunch of them. I studied some more photos to get the legend, scale markings, and scale values for the different gauges, and printed them on 20# paper. I specifically used lightweight paper because I intend to backlight the gauges, and I need light to shine through the white parts.
Of course, the gauges aren’t going to be functional, but I wanted them to at least look as though they’re operating. So, after designing the needles, I came up with several different orientations for them and printed a variety. That way I could randomly select one set per gauge, and all the gauges will not only look different but look like they’re actually working.
(Photo: Apollo education Experience Project)
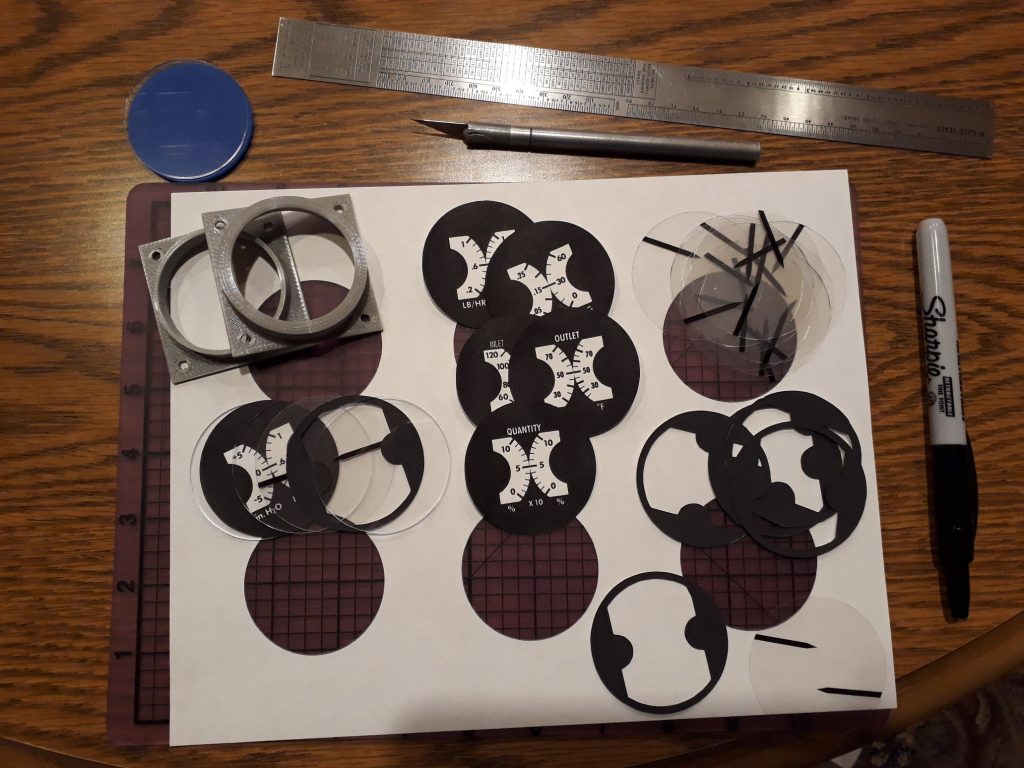
Cutting the pieces out was easy – since they had to fit in the same size opening as the acrylic circles, I placed one of the circles over each item, then ran the knife around it. Because the needles are “free-floating” (or so they appear), I printed them with a thin circles representing a cut line so that the needles would be oriented correctly over the scale and not offset one way or another. The outer faces had a problem similar to the layers of the FDAI – the thickness of the cardstock allowed the white of the cut edge to show pretty prominently. And like the FDAI, I used a sharpie to turn the cut edge black so it blended in.
(Photo: Apollo education Experience Project)
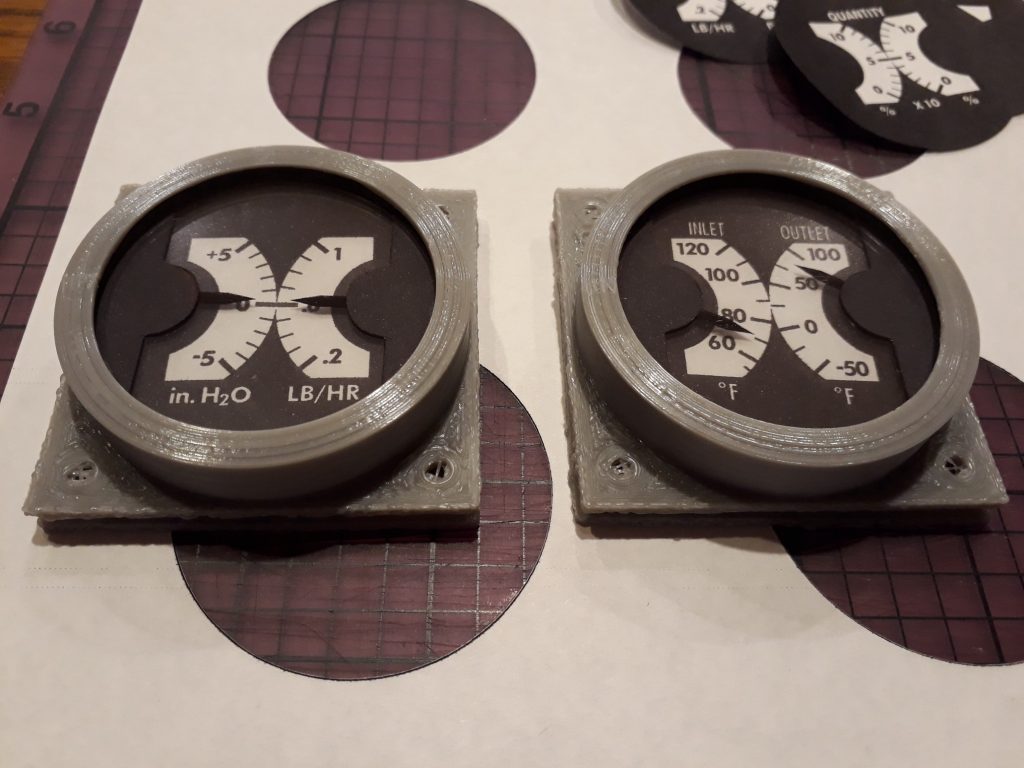
Now that I had all the pieces, I started putting them together. I started with the scale, followed by one acrylic circle, then a set of needles, the outer face, and another acrylic circle. I placed the stack on the housing insert, then carefully lowered the bezel onto the stack. The resulting 3D effect is astounding!
(Photo: Apollo education Experience Project)
There are six total dual round gauges on Panel 2 of the main control panel. Since I’m getting ready to start on Panel 2, I went ahead and finished those six gauges. In the photo below, they’re arranged somewhat like they’ll be installed on the panel.
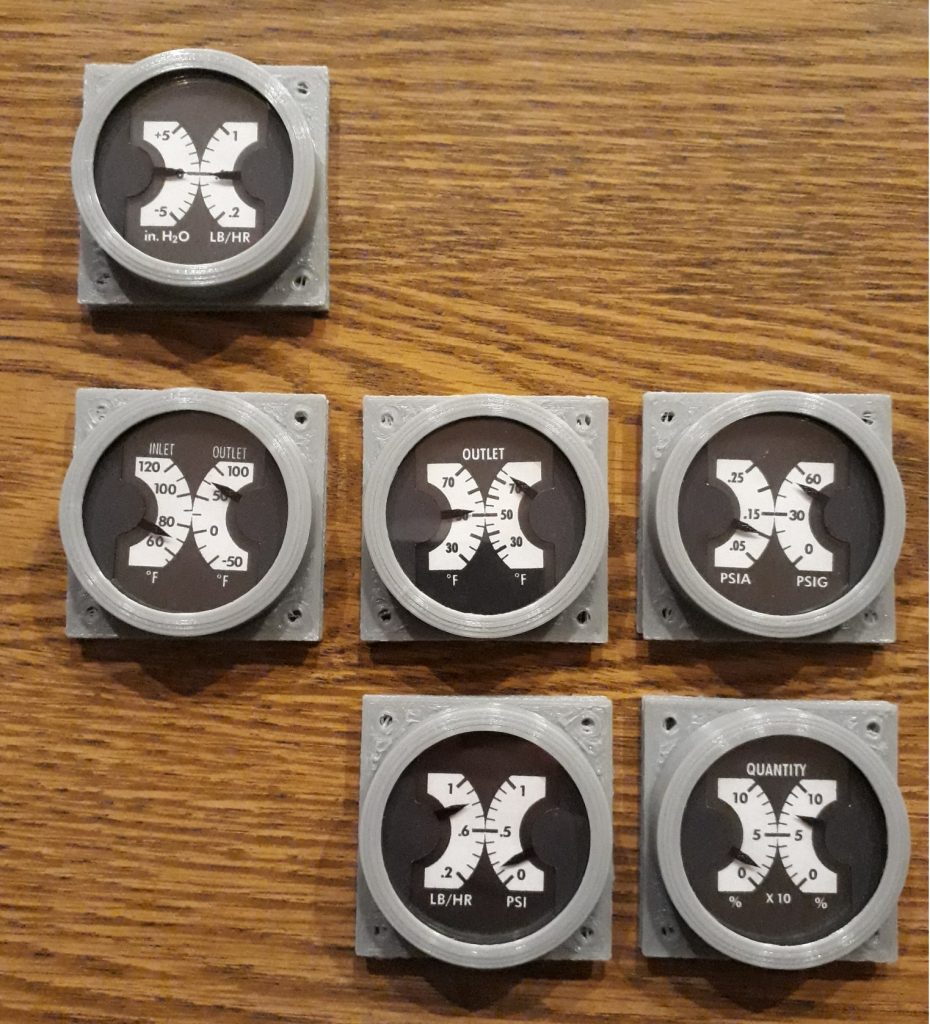
(Photo: Apollo education Experience Project)


