
Thumbwheels
When someone thinks about the control panel of the Apollo Command Module, they usually think about the hundreds of switches, or the “8-balls” (FDAIs), or the low-tech computer interface. But often overlooked are the small thumbwheel controls. These thumbwheels were used for setting levels, such as intercom audio, or trimming pitch or yaw. I’m working on a panel now that needs one, so I figured I’d model one and 3D print it. I did a quick scan through the panels to get an idea of how many to make, and was surprised to find over two dozen of the little things!
Most of the thumbwheels will be like the gauges – look nice but don’t really do anything. I did, however, want those to turn. I also thought it might be nice if one could control the audio level of the Open DSKY’s speaker, especially if I send that audio to an amp and larger speaker. In that case, I would need at least one that really worked.
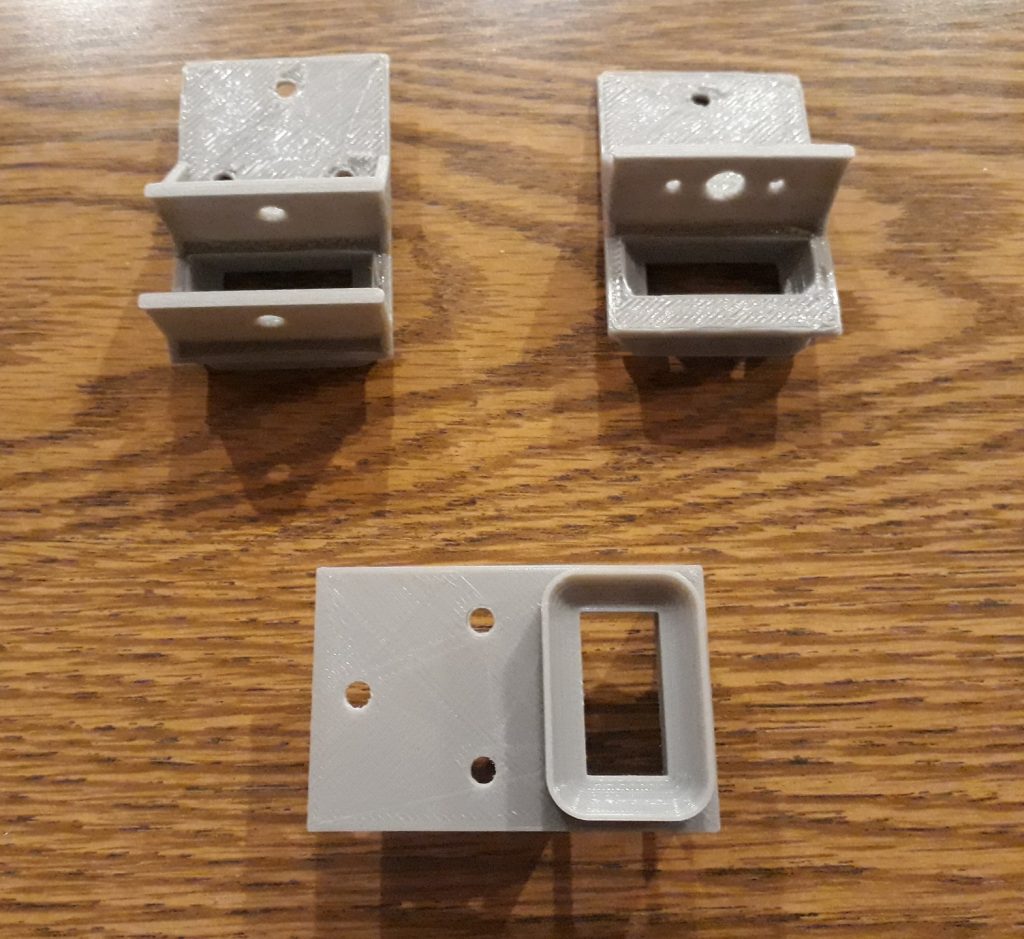
In coming up with a design, I of course started with the original drawings. They do not show the entire thumbwheel, so I had to make a guess as to its size. But before that, I modeled the frame plus some structure underneath to mount the wheel. Once I was satisfied with that, I modeled the wheel. Given the contraints of the frame plus the mechanics of mounting a small potentiometer for the one that will actually work, the size of the wheel was pretty much set. I modeled a hole in the center of the wheel just big enough to mount on either the potentiometer shaft (or a #8-32 screw for the dummy version), plus a hole in the side for a #4-40 set screw to fasten it to the shaft. These printed very well, even when printing 4 at a time.

(Photo: The Apollo Education Experience Project)
While modeling the frame – or more specifically, the hidden structure behind the frame – I learned that I would need two different versions. The shaft of the potentiometer is self-supporting, but the screw for the dummy version needed support on both sides of the wheel. So for it, I modeled two walls with holes sized for the screw. For the working version, I modeled only one wall with three holes: The center hole for mounting the potentiometer, and two outer holes to serve as guides for the orientation points that will keep the potentiometer from turning.
(Photo: The Apollo Education Experience Project)
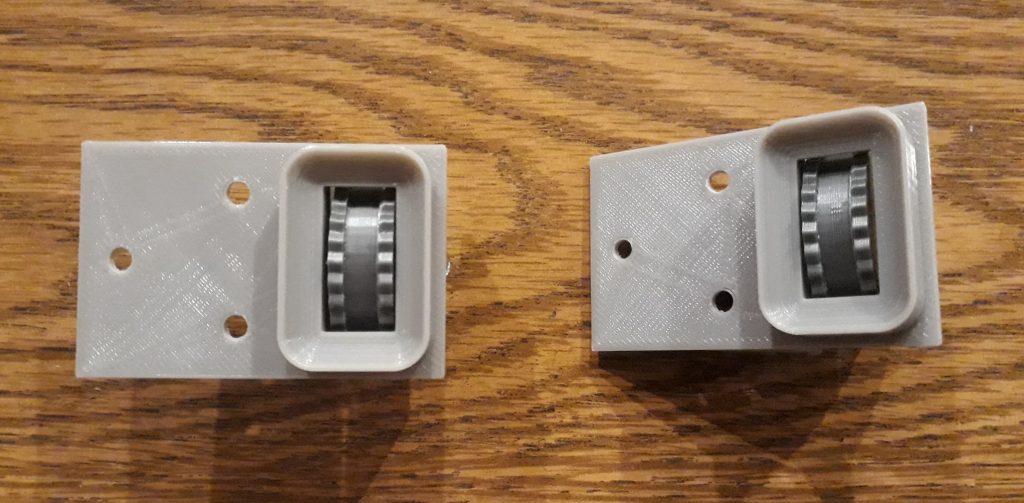
Assembling the working version was easy. I simply mounted the potentiometer in the frame using its own mounting hardware. I positioned the thumbwheel on the shaft, then inserted and tightened the set screw. Done! The dummy version was more difficult. I had to first start the screw through one hole and attach a nut, then position the wheel and advance the screw thru the center, being careful not to tighten the nut yet. When the screw reached the other side of the wheel, I added a second nut, then advanced the screw through the hole in the other wall. Once the head of the screw reached the wall, I tightened the first nut down against the wall, added a third nut on the outside of the other wall, and tightened the second and third nuts against the sides of the wall. Because the hole in the wheel was very close tolerance to the #8-32 screw, I had to work the thumbwheel back and forth a few times to get it to turn freely.

(Photo: The Apollo Education Experience Project)
(Photo: The Apollo Education Experience Project)


Hi,
Would it be possible for me to purchase from you some of those thumb dials
from you please?,I am working on a Lunar Module project and I am short of these
items.
Many Thanks,
Steve.
Hi, Steve, I tried contacting you through the email address you left, but I got a bounceback. Please contact me directly by PM through the GoFundMe page, and we can discuss your needs. I’m also interested in learning more about your LM project!