
CM Interior
Now that I have the girth shelf and some internal structure built, I can start work on the details of the interior. Because some of the structure included pieces beneath the girth shelf that left gaps for some panels, I decided to start by finishing them out.
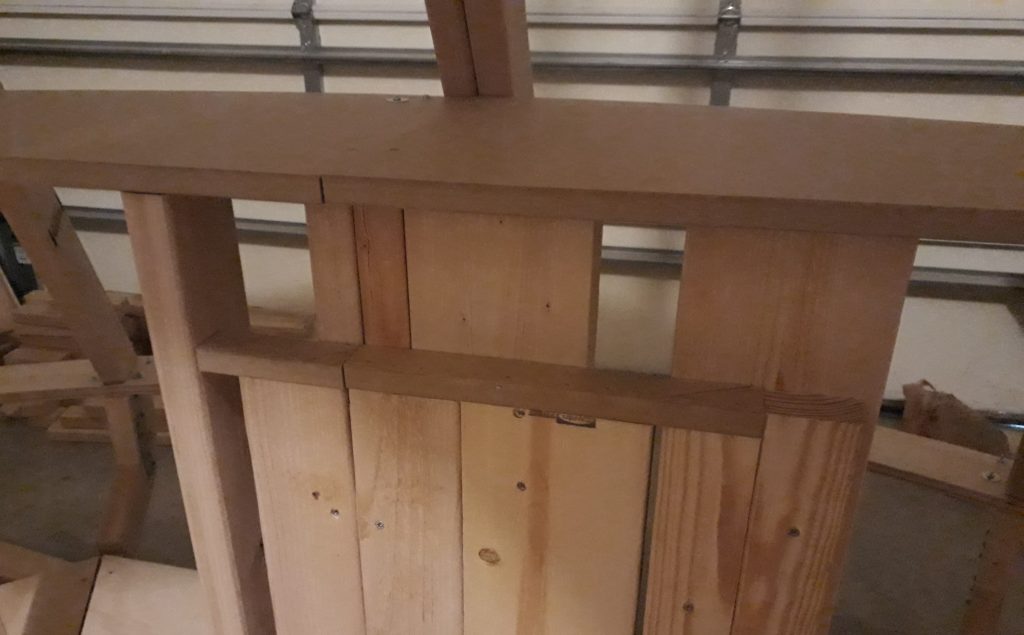
The right-hand side has a long, narrow opening for several panels (275, 276, 277, and 278), and is so long the opening for Panel 275 actually bridges the seam where the two halves of the CM fit together. I cut two pieces of MDF to serve as the base of that opening, and I used 3/4″ to help brace the tops of the boards.
(Photo: The Apollo Education Experience Project)
Likewise, I finished out the opening for the other panels with another piece of 3/4″ MDF. There is actually about a 1/4″ to 1/2″ difference in height between Panel 278 and the other panels in this opening, but for ease of construction I made it all one height.

(Photo: The Apollo Education Experience Project)
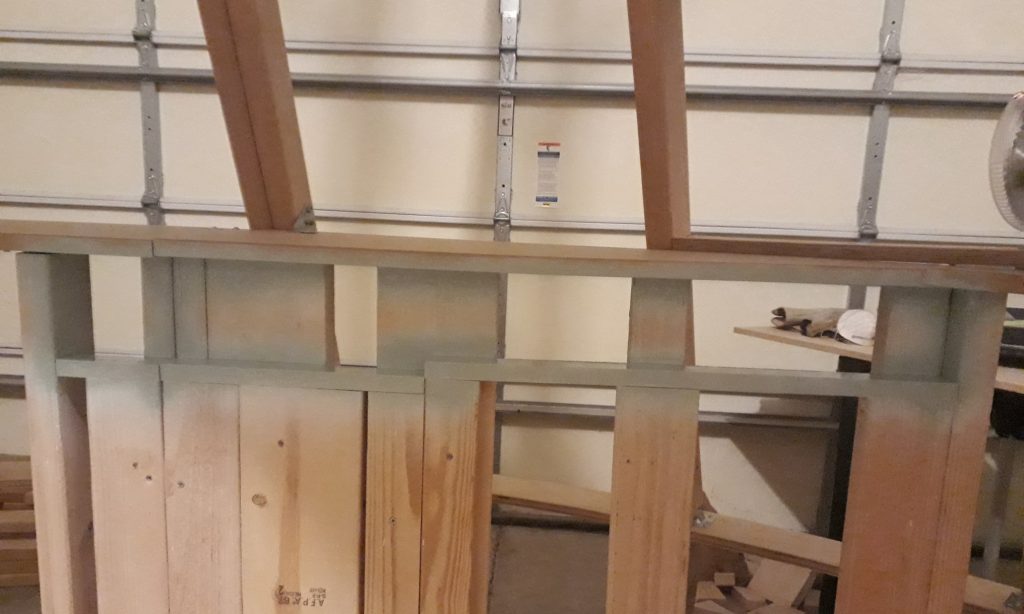
Paint! I finally get to start paining the interior of the CM! Well, only a small part. Since this opening is recessed, I wanted to get it painted before anything else was installed so that I wouldn’t risk messing up other components. Plus, I wanted to see how this new paint color looks.
In all the photos of the interior of the CM, the walls have this light grayish-green (or is it greenish-gray?) color to them. I did a little research to see if there was a federal color number associated with it. Come to find out, the interior of the CM wasn’t green at all, but a flat gray. This observation came from someone who works close to one of the real Apollo CMs, and when the question came up he went to the CM and looked for himself. The green tint apparently comes from the interaction between the CM’s fluorescent lights and the paint.
The lights that I have selected for this CM aren’t fluorescent but bright white LED strips. They would make a gray interior look gray. So to simulate the greenish tint, I looked around at the various spray paints available, and discovered one called “Serenity Blue.” The cap color looked like an exact match, but I haven’t used it until now. After a coat of the recommended primer, I painted the top, bottom, and sides of the panel opening “Serenity Blue.” I think it will work perfectly!
(Photo: The Apollo Education Experience Project)
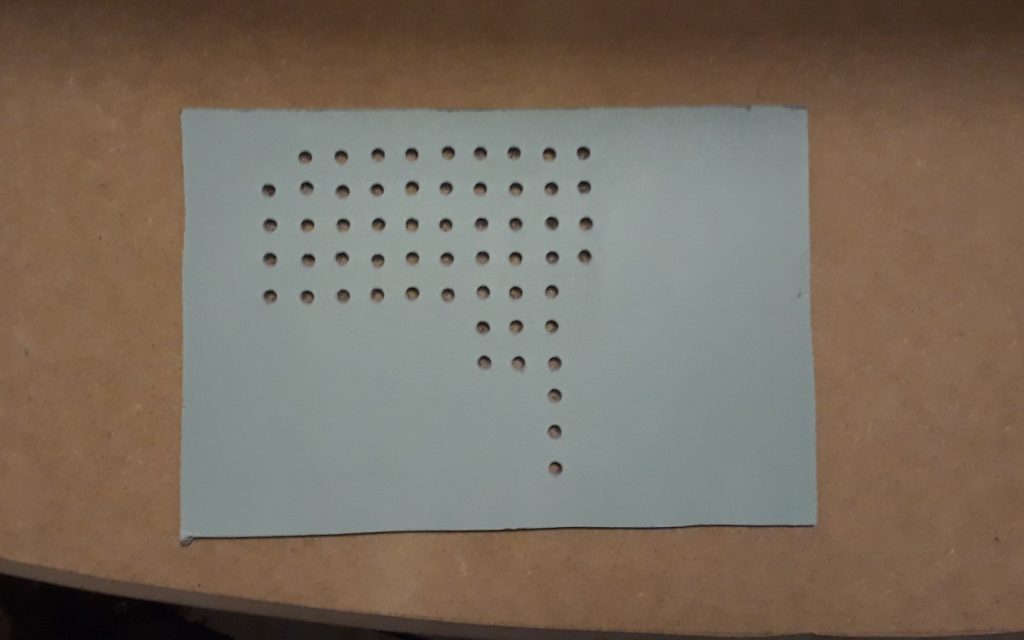
There is only one small opening beneath the girth shelf on the left-hand side, which is for Panel 380. It is a “panel” in that it has a number, but it actually has several mechanical controls. It is also backed with a perforated plate. I made the plate from tempered hardboard and drilled holes at 1/2″ intervals to match. I painted the plate in “Serenity Blue.” This photo shows the color really well.
(Photo: The Apollo Education Experience Project)
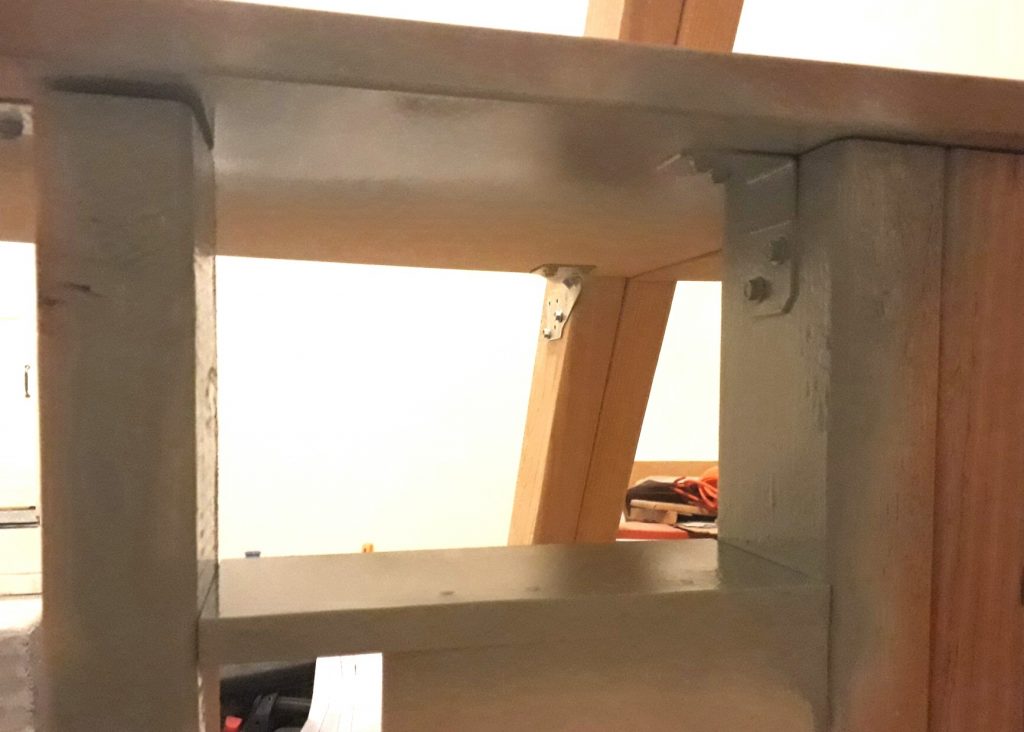
I painted the opening itself as well. It is difficult spraying the inside of an opening like this. While trying to coat the inside, the paint would build up on the outside and created a couple of runs on the outer surface. This is why I’m paining these openings now – the outer surfaces will be covered by the closeout panels.
(Photo: The Apollo Education Experience Project)
I then nailed the backing plate to the back of the opening. It is now ready for the controls to be installed (which will come later).
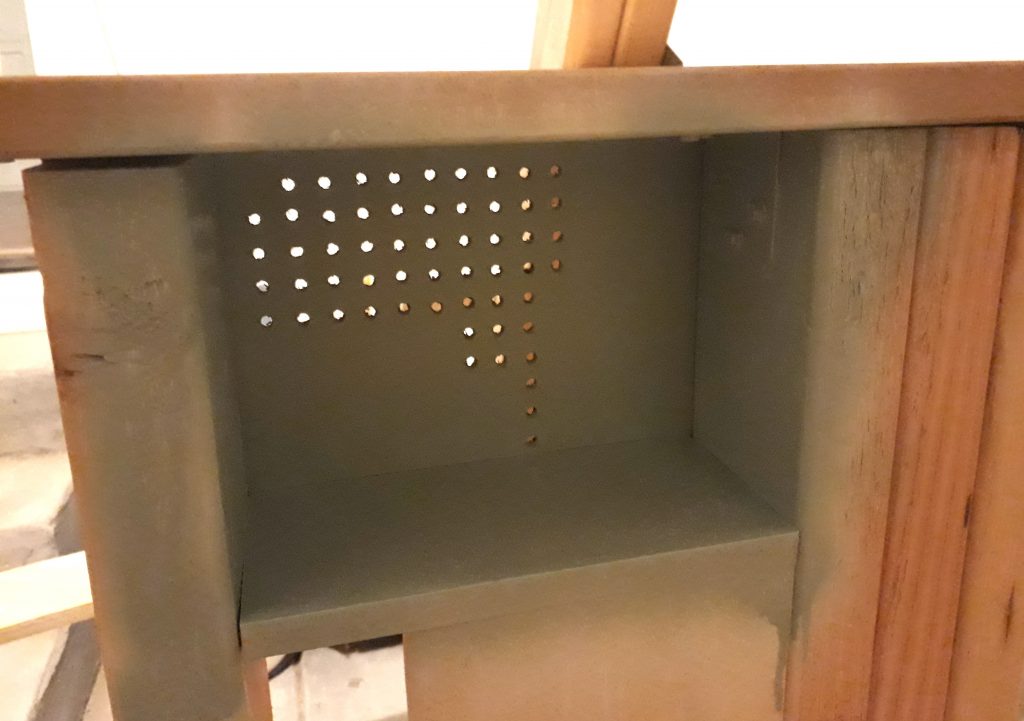
(Photo: The Apollo Education Experience Project)


