
Navigation Station – Part 2
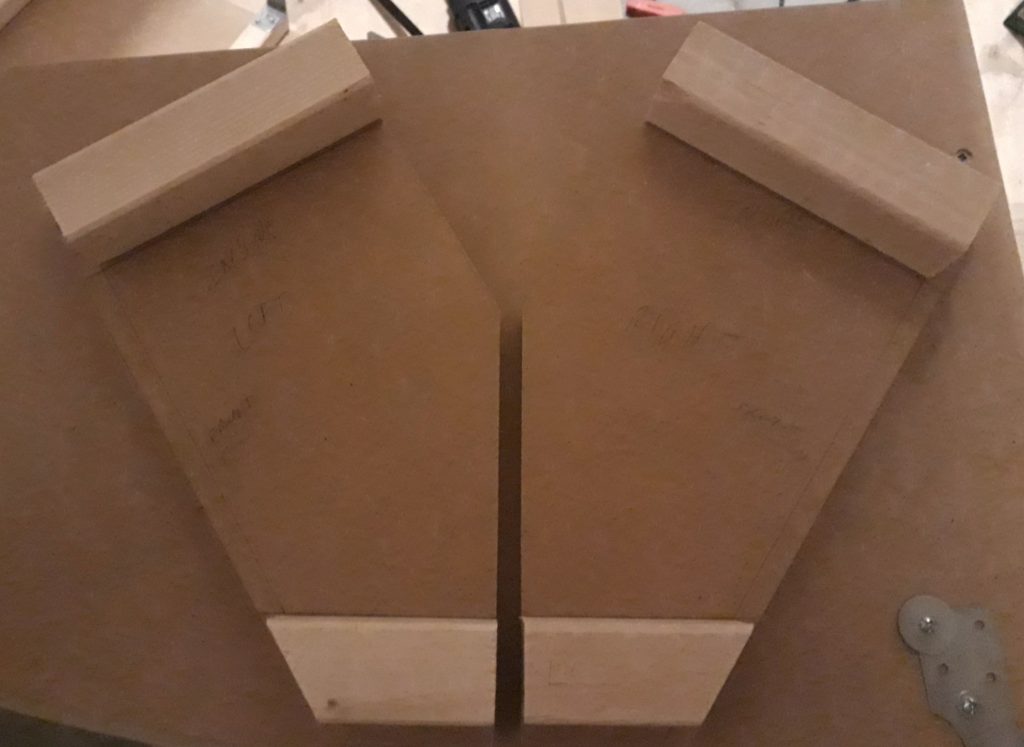
The next part I worked on was the housing for the sextant/telescope. I already had the back cut from 1/4″ MDF. I cut the sides from 1/2″ MDF, then rounded the exposed edges with a 1/8″ roundover router bit.

(Photo: The Apollo Education Experience Project)
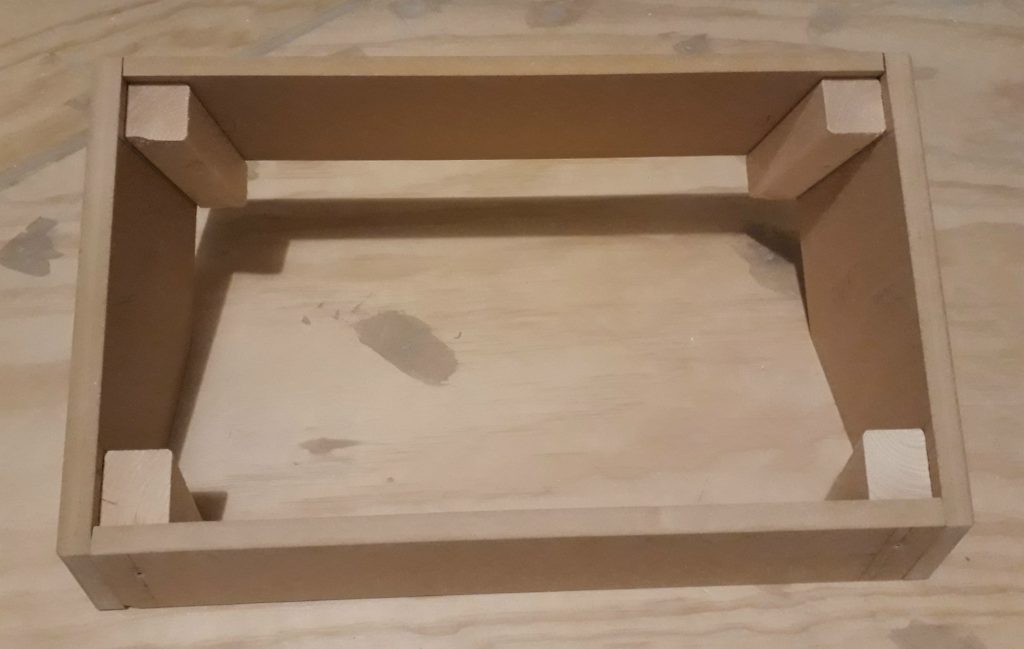
I cut some 2″x2″ lumber for the corner braces, then attached them to the corresponding side pieces. I used the 2″x2″ wood so that I could have better attach points for the face of the housing and more solid construction of the outside. I left a 3/8″ gap toward the front to allow for the face and 1/2″ gaps for the top and bottom pieces..
(Photo: The Apollo Education Experience Project)
I cut the top and bottom of the housing from 1/2″ MDF, then attached them to the completed side assemblies, making an open box. I used the 1/8″ router bit on the exposed edges of the new pieces.
(Photo: The Apollo Education Experience Project)
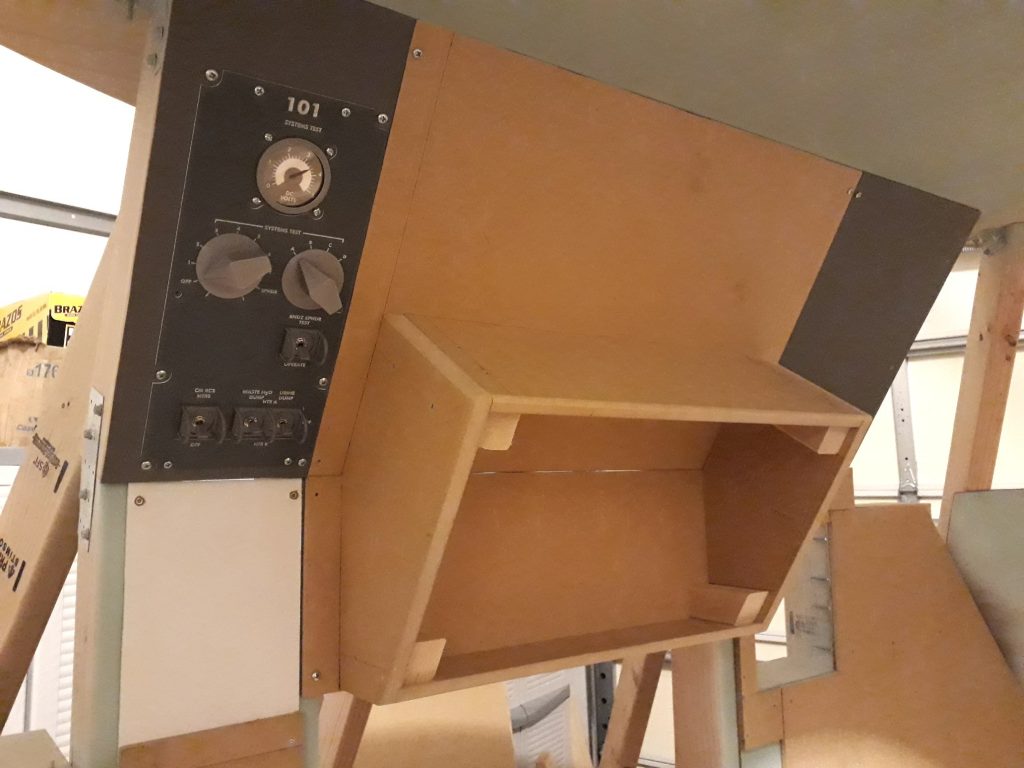
I fastened the completed outer frame to the two previously-cut back pieces using special self-tapping MDF screws. The edges of the two back pieces met at the angled corner of the side pieces. I then mounted this unit in the CM for test fitting, checking alignment, and just to see how it looks.
(Photo: The Apollo Education Experience Project)
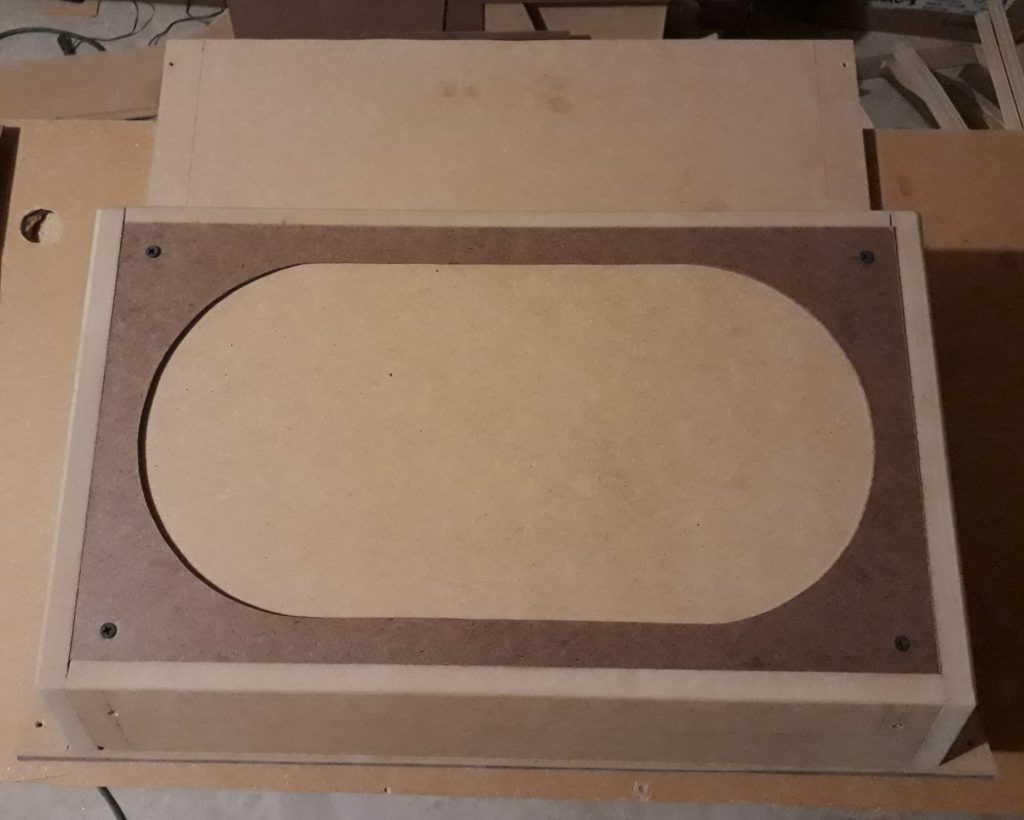
Moving on to the face plate itself, I cut two pieces – one from 1/4″ MDF and one from 1/8″ hardboard. The hardboard I further cut to make an outer frame and two equal inner halves for the sextant/telescope unit itself. The two layers were necessary so that the two rounded faceplates would have something to mount to, as well as to provide structure for mounting the other detail components.

(Photo: The Apollo Education Experience Project)
I removed the housing assembly from the CM and installed the faceplate pieces into the frame. It was a snug fit, with the bottom of the pieces beveled to fit into the beveled opening, but this would help both the appearance and the security of the finished product. I attached the faceplate layers with four screws at the corners into the four 2″x2″ braces.
(Photo: The Apollo Education Experience Project)


