
Navigation Station – Part 8
With the most difficult parts of the navigation station control panel completed, I turned to the remaining details and the final assembly. The next detail to finish was the thumbwheel for the sextant reticle brightness control. I had previously modeled some thumbwheels for other control panels, so I took that same model and modified it slightly. I didn’t need the “bowl-shaped” surround for the wheel, so I printed a thumbwheel mount without it. I modified the thumbwheel itself, too — I eliminated the center channel where the number marking would go, and rounded off the edges of the wheel. I installed the wheel in the mount with a machine screw and locknut, and it was ready to attach to the panel.
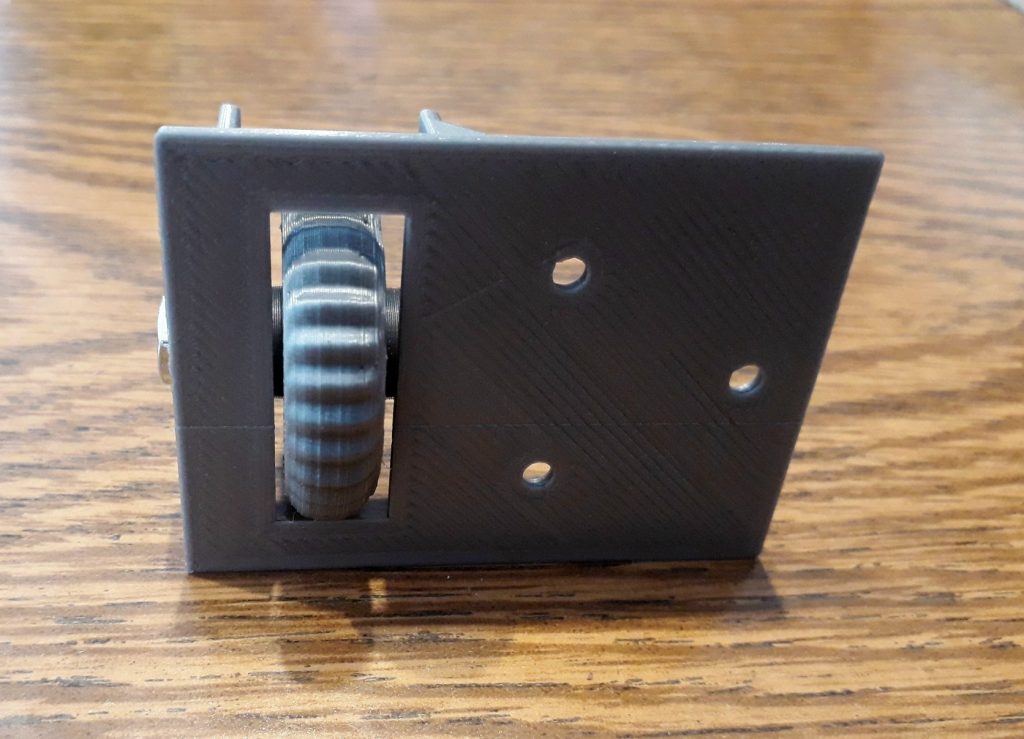
(Photo: The Apollo Education Experience Project)
I also needed a bank of four small indicator lights. I didn’t intend to make these lights functional, but since they strongly resembled the caution & warning lights I had already made, I modeled a variation of those which had just 4 lights. The assembly had to be deeper than the caution & warning light assembly to allow for the spacer block, but otherwise was built in very much the same way – an open shell with an insert that had light dams between the lights.
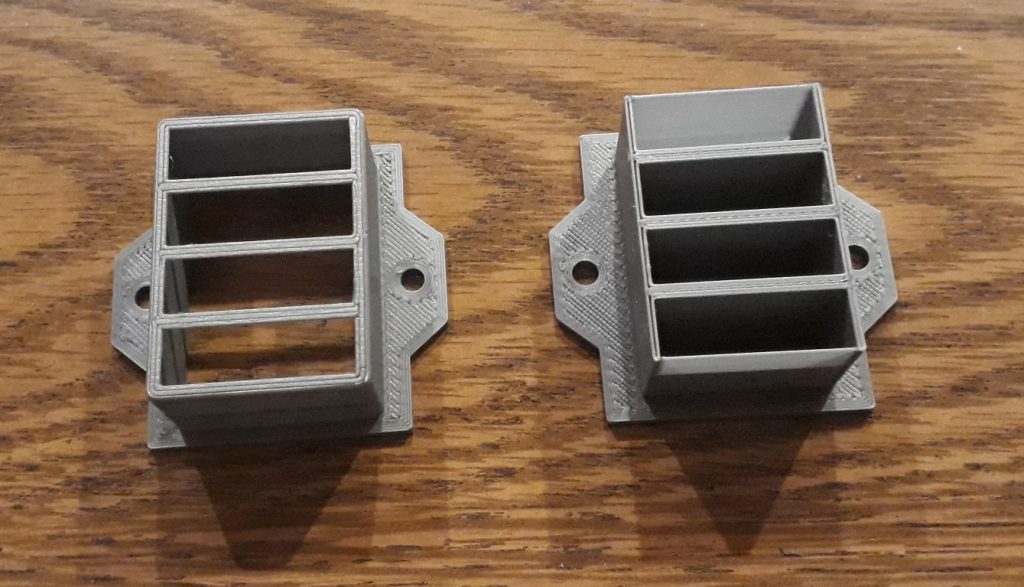
Left: the outer shell and faceplate. Right: the divided insert.
(Photo: The Apollo Education Experience Project)
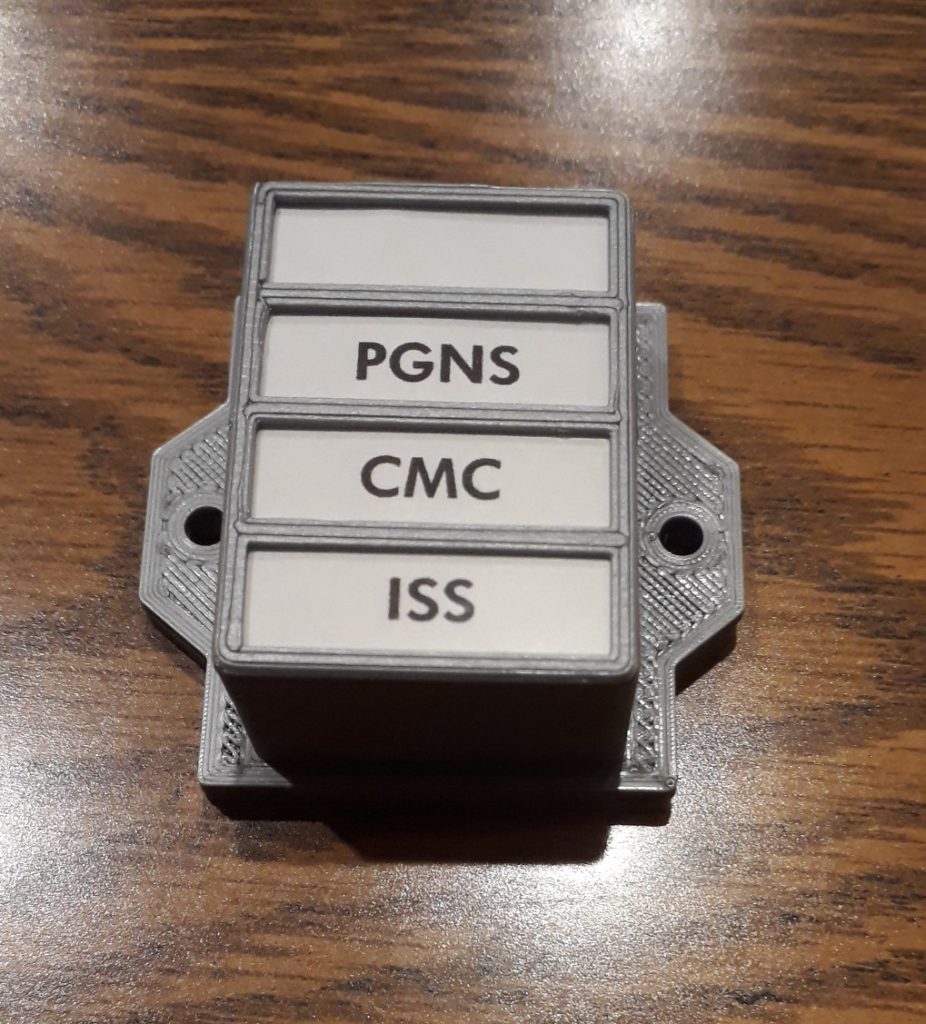
I printed the legends for these lights on some plain 24-pound paper, then cut to size. I also cut a piece of transparency material the same size. I then placed these inside the shell, and held them in place with the insert. This whole assembly fits into the rectangular opening in the right spacer block. Should I decide to make these operational, I can attach a circuit board with NeoPixel LEDs to the back, and control it with the navigation DSKY.
(Photo: The Apollo Education Experience Project)
All of the individual components are now complete! I started final assembly of the panel by attaching the control pockets to the panel, followed by the two spacer block assemblies with the switches and indicator lights. Some of the screws for attaching these assemblies are also the screws for attaching the acrylic panel overlays, so I attached these at the same time. Then I installed the thumbwheel using three countersunk machine screws. And finally, I attached the remaining acrylics, and adjusted them all for a nice, even fit all around before tightening all of the screws down.

(Photo: The Apollo Education Experience Project)
I started to install the completed panel in the CM, when I encountered a rude surprise: as careful as I had been on the measurements (or so I thought), the right-hand support 2×4 was about 3/16″ too far in toward the center. The control pocket assemblies were measured for an exact fit against these supports (at least in the computer model), so the misaligned support would not allow the panel to be inserted. I fretted about this for a while, then had the idea to sand away enough material off of the support to make room for the pocket. I took a belt sander with a 50-grit belt, and removed just enough material from the right support to allow the pocket assembly to clear. Once in place, I drilled pilot holes for the mount screws, then mounted the panel in place with #8 screws.

(Photo: The Apollo Education Experience Project)
The only items remaining for the navigation station now are the DSKY to the right of the station and the eyepiece stowage unit above the sextant/telescope assembly.


Very nice project! full of details.. I started reading about the spacesuit and got shocked looking the whole project involves the command module on 1:1 scale, I wish more people on my country would be that interested on this kind of proyects. I hope the best luck ending the proyect ^^